Transcript
00:06The burnie copper terminal installation training video topics.
00:11We will discuss compression terminal selection, wire, stripping,
00:14wire, insertion you dye selection crimping technique including number of crimps,
00:20crimp placement and crimping sequence inspection.
00:25Chapter one proper connector selection, proper terminal selection is determined by the wire
00:30being terminated and the mounting requirements for the application.
00:34In this video, we are only focused on the wire termination portion of the terminal.
00:39Identify the wire material, copper or aluminum as this will determine the connector product
00:44line to be used to terminate. The wire wire types include copper,
00:48solid wire, copper class B or C building wire, copper, high strand count,
00:54flexible wire classes, Ghikm or DLO and aluminum class B.
01:01Building wire, wire size or gauge will determine the physical wire size designation.
01:07Once the wire is identified, you can select the appropriate connector.
01:11This video will depict an installation using both a standard and long barrel terminal.
01:16For this video, we have selected a copper class B four A AWG gauge wire installers can
01:23verify the proper connector by matching the wire size on the wire insulation to the
01:27connector barrel ink marking and or the info embossed on the terminal pad.
01:32Burnie code lugs accommodate both class B and C wire stranding and have solid color code bands
01:38with knockout lettering.
01:41Chapter two, proper wire stripping, wire insulation stripping is required for proper
01:47wire insertion into the connector. Proper wire stripping ensures full contact at
01:51each crimp with the wire. For optimal electrical and mechanical
01:55performance installers can find the wire strip link for the selected connector in the burnie
02:01master catalog sales drawing or product label.
02:06If wire strip length is too long, it will expose bare wire between the barrel end and the
02:12insulation. While this does not pose a problem from an
02:15electrical or mechanical standpoint, it is not a recommended practice.
02:19As exposed wires can pose a safety hazard.
02:22Wire that is exposed can be covered using burny heat or cold shrink products.
02:27If wire strip length is too short, it will prevent the wire from fully inserting into the
02:32connector barrel preventing full crimps on the wire that could affect the integrity of the
02:36connection. When the strip length is properly sized,
02:39it ensures that no excess bare wire is exposed and the wire is fully inserted into the
02:44connector allowing four full cramps on the wire resulting in a safe and reliable connection.
02:50When stripping the insulation, be careful to avoid cutting or nicking wire strands as
02:55damaged strands can affect the integrity of the connection both from an electrical and
02:59mechanical standpoint.
03:01Chapter three, proper wire insertion before making a connection.
03:06Verify proper wire strip length, hold the wire against the connector barrel.
03:10So the stripped insulation is butting the barrel length visually verify the bare wire
03:16extends beyond the crimp zone as this ensures that the wire will be fully inserted into the
03:21barrel and will make full contact with the wire. When crimped chapter four,
03:26proper you dye selection, the dye set will depend on the installation tool being used for
03:32this installation. We are using the 12 ton 750 series battery
03:36actuated Patriot T three tool which requires U dyes.
03:40When selecting the proper dy set installers can verify the dye with the connector by using the
03:45unique burnie dye index numbering system and color code dye index number 15 and purple color
03:52code for this installation indicates the following information that can be verified
03:56before installation.
04:00Wire material is copper wire type is class B wire size is four A AWG
04:07color code is purple connector family is Y A 28 chapter five
04:14proper crimping technique.
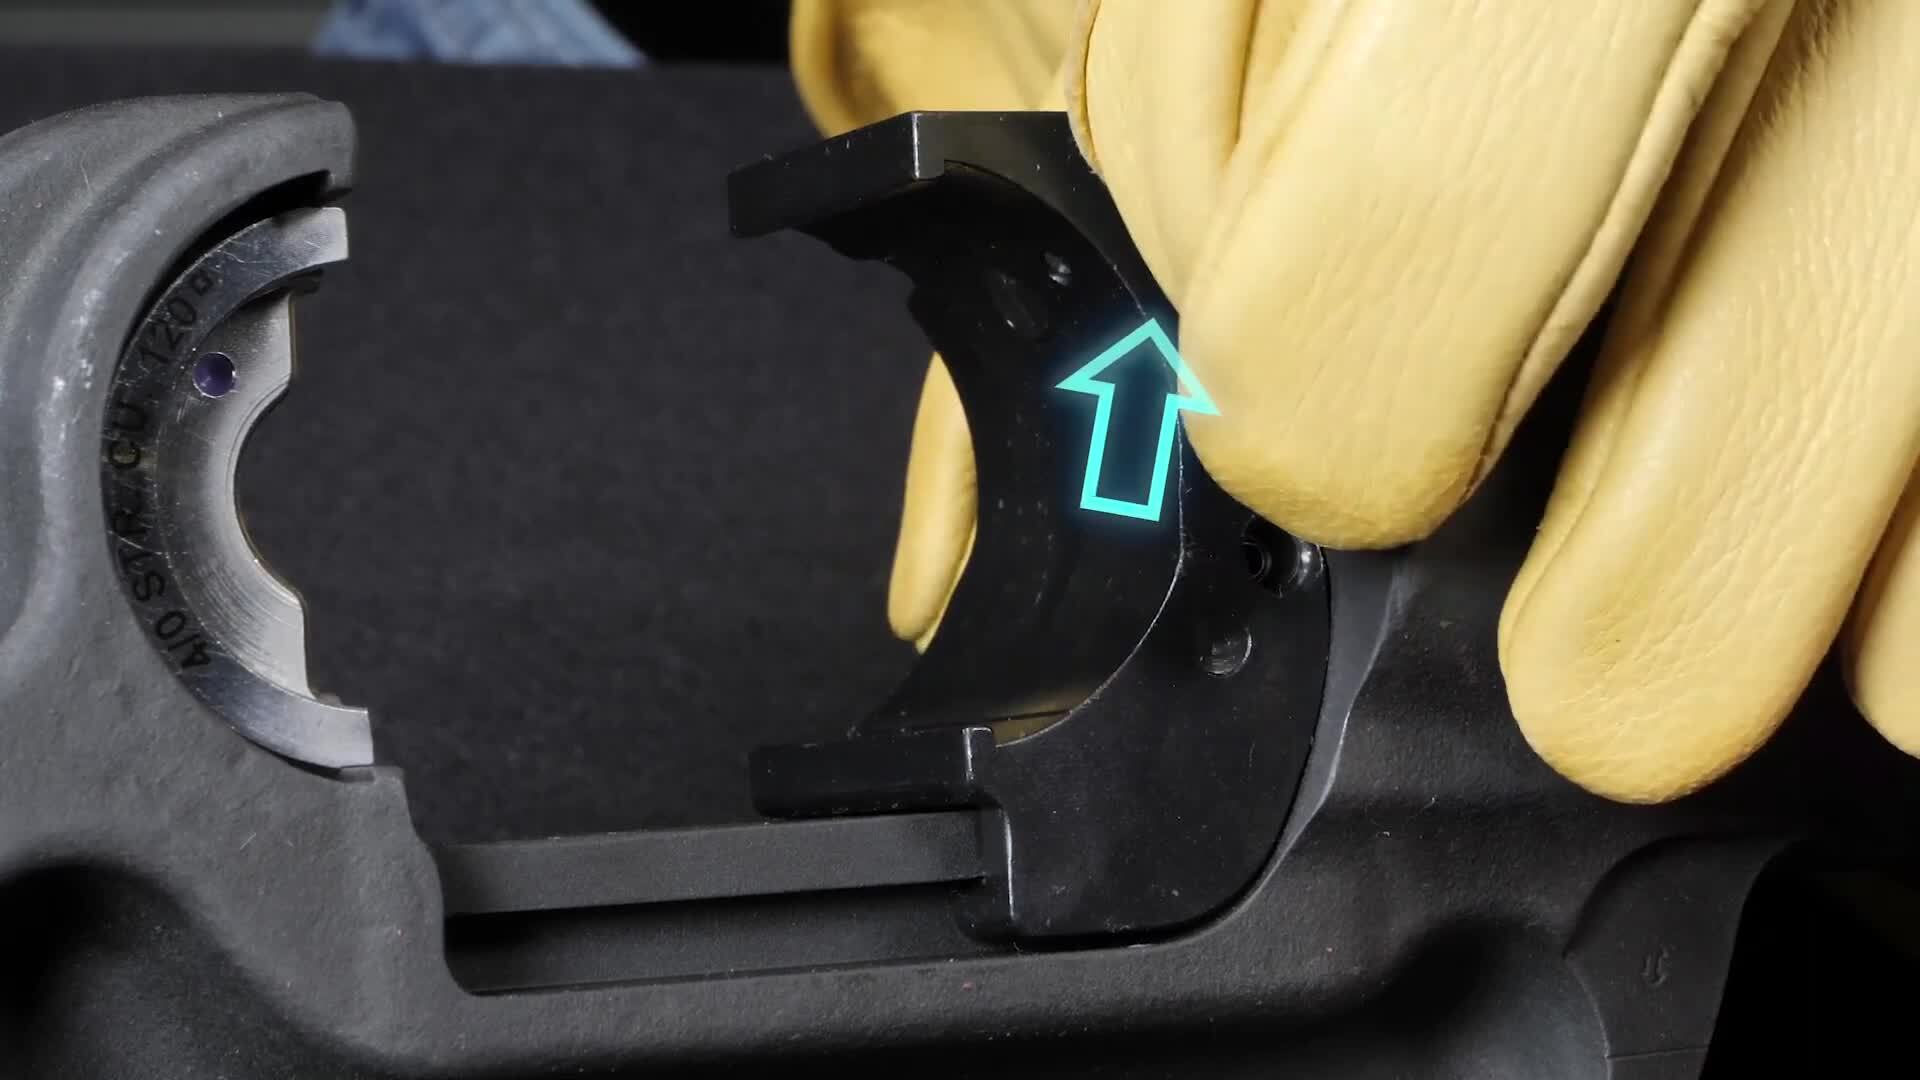
04:16Inserting dyes into the installation tool for the top die half press the die release button
04:22at the top of the tool head slide, the die half inside the tool head groove until it is center
04:28release the dye button and wiggle the dye to ensure it is properly seated for the ra M or
04:33bottom die half press the die release button on the side of the ra M slide,
04:37the die half inside the tool head groove until it is centered,
04:41release the dye button and wiggle the dye to ensure it is properly seated.
04:45Once both die hals are properly seated in the tool head,
04:49you are ready for crimping installation process. Once the number of crimps crimp location and
04:54crimping sequence has been determined, you can begin the installation,
04:57Bernie installation manuals. And the Bernie Connect app provide you with a
05:02number of crimps, crimp location, crimping sequence and crimping diagrams to get the
05:07Bernie installation instruction manuals or the free Bernie Connect mobile app.
05:11Go to the resources tab on the Bernie website to demonstrate
05:18proper crimping technique. We will be crimping both a standard and long
05:21barrel terminal. We are going to show the crimping procedure for
05:24a standard barrel terminal for this installation.
05:27The connector requires one crimp place the connector against the top die half with the
05:32bottom of the terminal pad facing the lower die half.
05:37The top dye is stationary during tool activation allowing the installer to maintain
05:42proper connector alignment during crimping align the connector crimp zone to be centered
05:47with the middle of the top dye.
05:48Begin the tool's crimping cycle tool indicates a full cycle has been completed when an audible
05:54pop sound is heard.
05:58Some tools also depict a green indicator light as a secondary indicator of a completed crimp.
06:05A red light would indicate an incomplete crimp.
06:08You can verify that a proper installation has been made by the presence of the correct dye
06:13emboss on the connector falling within the crimp zones.
06:18Long barrel terminals, we are going to show the crimping procedure for a long barrel terminal.
06:23For this installation, the connector requires two cramps,
06:26place the connector against the top dye half with the bottom of the terminal pad facing the
06:31lower die half. The top dye is stationary during tool
06:34activation allowing the installer to maintain proper connector alignment.
06:38Crimping align the first crimp closest to the terminal pad with the center of the crimp dive
06:43between the 1st and 2nd crimp bands. As shown in the illustration begin,
06:48the tool's crimping cycle tool indicates a full cycle as completed when an audible pop sound is
06:53heard. Once the first crimp is complete,
06:57retract the tool ramp and align the second crimp closest to the wire end with the center
07:02of the crimp dye between the 3rd and 4th crimp bands.
07:05As shown in the illustration. Once you have finished your two crimps,
07:08the installation is complete, you can verify that a proper installation has been made by the
07:13presence of its direct dye emboss on the connector falling within the crimp zones.
07:20The crimping orientation during an installation on a seamless compression terminal is not
07:25critical from an electrical or mechanical performance perspective.
07:28However, crimping in the orientation recommended provides a uniform and clean
07:33looking connection crimping. Contrary to Bernie's recommendations may cause
07:38flash to extrude vertically on the terminal which could prevent the connector from sitting
07:42flush on mounting surfaces.
07:45Chapter six proper inspection inspectors can validate proper terminal installation with the
07:51use of U dyes visually and physically visual inspection inspectors can visually see the
07:58dye index number embossed on each crimp of the connection.
08:02Dye index emboss ments provide the inspectors with wire material.
08:06In this example, copper wire type.
08:09In this example, class B wire size. In this example,
08:13four A AWG dy index number on the emboss matches with the markings on the terminal.
08:20In this case, 15 color code in this case, purple connector family.
08:25In this example, Y A 28 as indicated on the terminal markings.
08:31Inspection with physical measurement tools, physical inspection of A crimp can be done with
08:37the use of the wire mic C I or calipers wire mic C I can be used as a you dye post primp
08:43measurement tool. Place the wire mic on the crimp,
08:46read the dye catalog number indicated on the tool and verify that dye catalog number with
08:51the dye used based on the dye index number and color code.
08:55The Burnie Connect app provides the post print dimension range place calipers on the print and
09:00verify the readings fall within the proper post print dimensions.
09:04This concludes the copper code terminal installation training video.

Burndy Copper Compression Terminal Installation Video
- private
- electrical contractor
- electricalcontractor