Transcript
00:05Today, we'll be installing the latest cold shrink products from Burnie.
00:09This install will be done on a copper tape shield conductor.
00:12In our previous video cable preparation, we've prepared our cable to install our CS Go
00:18termination kit for detailed cable preparation instructions.
00:21Please reference the video we have that goes through the step by step process of proper
00:26cable preparation.
00:28We will now move to the installation of the Y A 26 2 N.
00:32Before we start, let's make sure we have the right connection or sleeve for the job.
00:37We will be using a Bernie CS Go 15 to 10 termination kit that is rated for both indoor
00:43and outdoor applications for the connector. We'll use a Bernie Y A 26 2 N two hole Nema
00:50connector. We will be installing this termination on 205
00:54kilovolt tape shield conductor.
00:56What do we mean by tape shield conductor?
00:59If you look at the layers of the conductor, you'll see that in this case,
01:02it has a jacket. In this case, a tape shield.
01:05The next layer is a Semicon and then the insulation stranded conductor shield.
01:10And finally the conductor.
01:12First, I'd like to talk about the different components that are included in the purchase of
01:16your Burnie CS Go termination kit.
01:19You'll have your cold shrink termination sleeve that is expanded over the plastic easy rip cord
01:24that is now recyclable.
01:26One feature on this sleeve that we would like to highlight is its integrated Mastic lining
01:31that is installed at the factory on both ends of the termination.
01:34This high performance burnie high seal Mastic makes installation easier and ensures a very
01:40high quality consistent termination.
01:43Next, you'll have a solder sealed ground blade for the electrical connection.
01:46During the installation, you'll have a constant for spring.
01:50You'll have a piece of the moisture ceiling Mastic, you'll have a copper foil tape,
01:55you'll have an electrical grade tape, you'll have a solvent white kit and an installation
02:01guide using your burnie installation guide. It is recommended to taking the time and
02:06reading through and highlighting pertinent information for your specific installation to
02:11ensure proper cutback lengths for each layer, determine the proper lengths of cut offs for
02:16each layer of the conductor to ensure a proper install and for your Mastic that is inside the
02:21tube, sit correctly at those critical locations.
02:24Please make sure you carefully go through step by step with your installation guide.
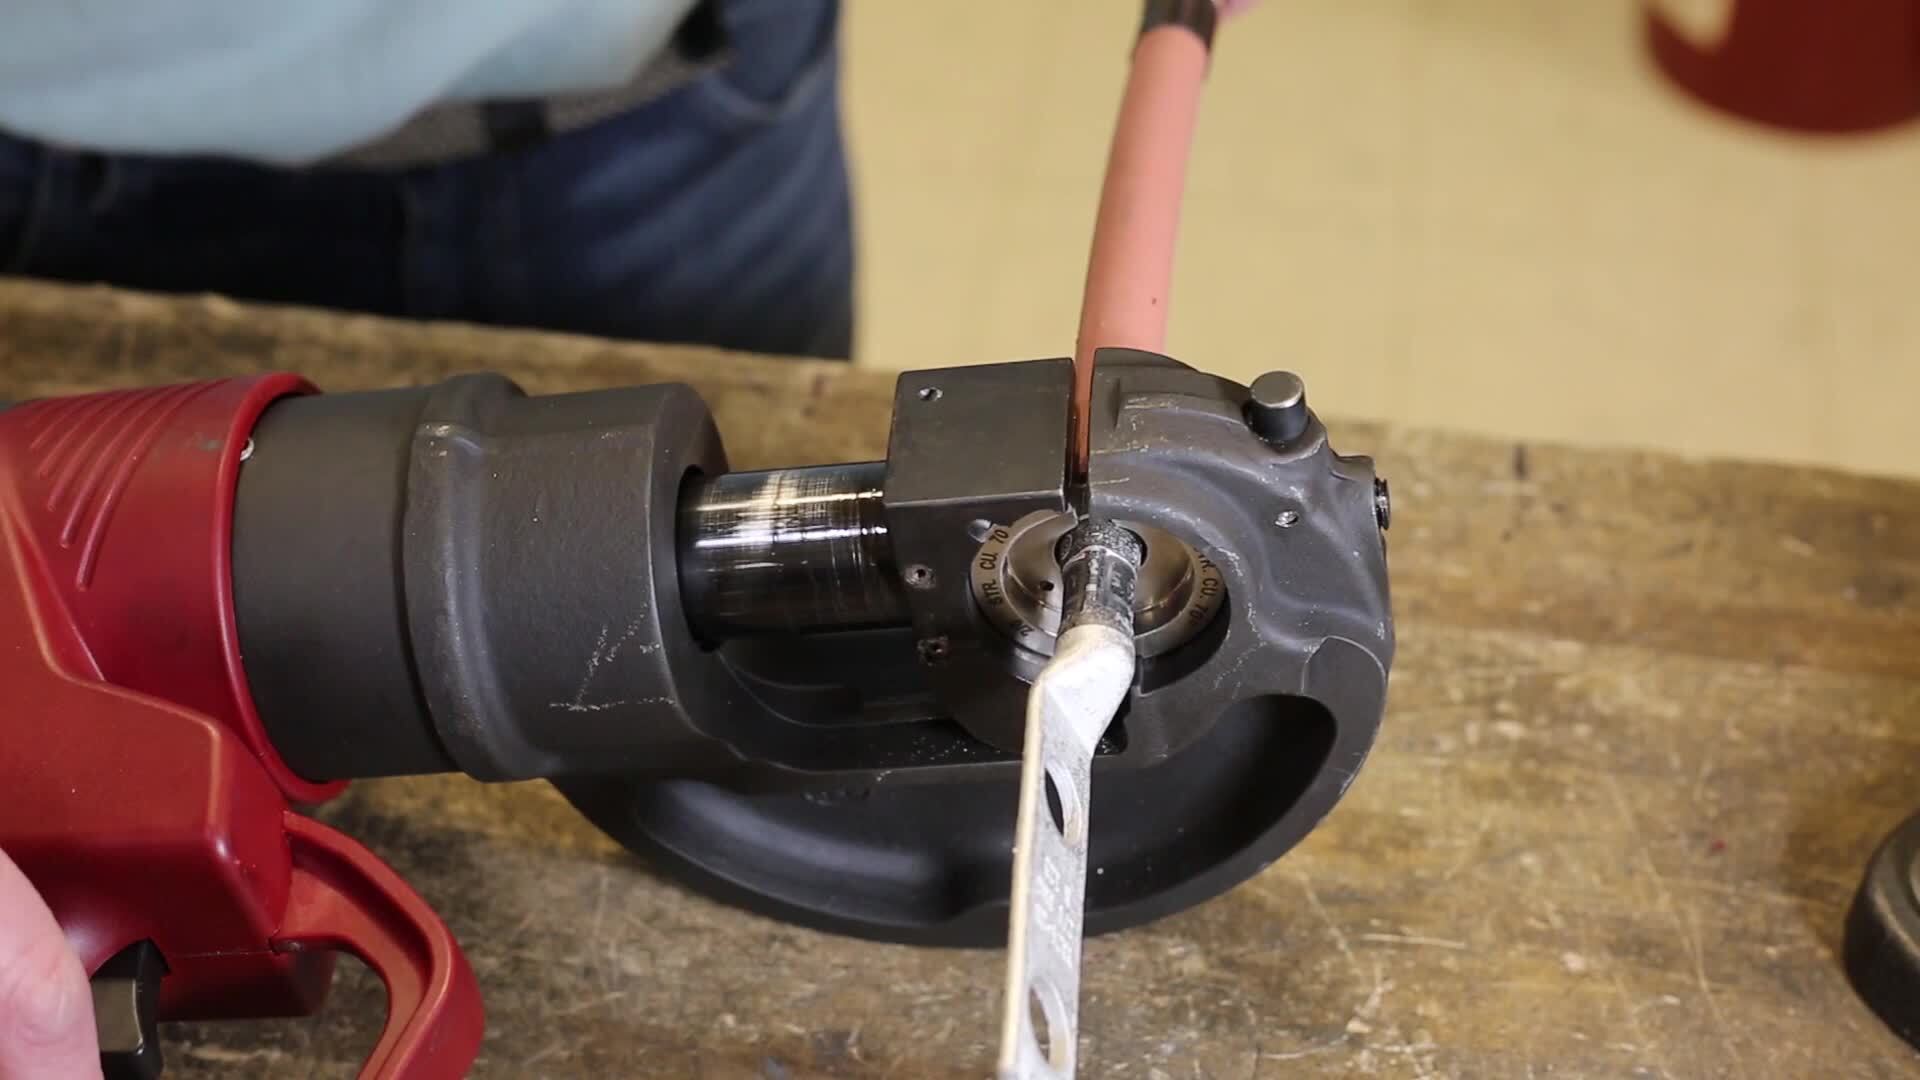
02:29Now that you have the proper cut back length, it's time to install the connector.
02:33Crimping a burnie connector, select the appropriate dye style to match the installation
02:39tool, insert the dyes into the tool place the connector between the installed dyes use the
02:45color stripes as a guide for crimp placement.
02:48Refer to the master catalog pages for required number of crimps depending on tool and dye
02:53selected, begin the tool's crimping cycle and continue until the full cycle is complete.
02:59Now, the most important part of this whole installation would be the cleaning of the cable
03:04wipe insulation from the transition point from the Semicon and the insulation layer towards
03:10the lug and Semicon layer.
03:12If any excess particles are left behind tracking could take place as the connection is
03:17energized. Be sure not to touch the Semicon or any wiped
03:21areas that could become contaminated from oils or dust.
03:24This is imperative, mark the jacket to the predetermined measurement.
03:30According to the instructions, look at the thickness of the jacket to be removed at the
03:34end of the cable, install the marker tape butted up against the leading edge of the mark
03:39dimension. Next, we'll install the Mastic,
03:44apply the Mastic up against the edge of the cable jacket cut back with little tension.
03:50You want to go around two times.
04:02Now we'll go ahead and install the ground braid.
04:05The braid itself has a contoured edge that contoured edge will sit up against the jacket
04:10cut back. So it will leave a smooth edge once the braid
04:13is bent backwards, once the braid is butted up against the jacket,
04:17use the constant for spring and apply two wraps around the tape shield bend the braid backwards
04:23towards the jacket over the constant for spring again.
04:26So the contour of the braid is firm and up against the edge of the spring,
04:30press the braid firmly against the Mastic to create somewhat of a bond.
04:35Remember, this is for grounding purposes.
04:38Once the braid is applied, finish wrapping the remainder of the constant for spring until
04:42fully installed, tighten the for spring to ensure a tight fit,
04:51using the PV C tape provided with a kit, apply two layers of tape directly over the constant
04:56for spring. So this will cover any sharp edges that the
04:59braid or constant for spring may have. Next. Take the cold shrink sleeve and position the
05:05sleeve with the sheds or skirts towards the end of the termination.
05:09Gently pull the rip cord as the sleeve is lined up to the edge of the marker tape slightly
05:14turning the shrink tubing as it begins to shrink down.
05:17Take your time at the beginning of the shrinking process,
05:20you can overlap a little over the PV C tape and pull.
05:24So the shrunk tube sits firmly to the edge of the tape.
05:27Continue to pull the rip cord to complete the shrink.
05:30You will notice that near the termination, there may be gaps and it looks as though it
05:35will not seal. After a few minutes, it will compress down and
05:39create a watertight seal. If you feel more comfortable,
05:42you can squeeze it that completes our installation of the CS go medium voltage cold
05:48shrink kits to learn more. Visit bernie.com.
05:52Thank you.

BURNDY CSGO Medium Voltage Cold Shrink Installation
- private