Transcript
00:00Today, we will be installing Burnie's GCCT type mechanical grounding clamp A UL 467
00:07listed solution for grounding and bonding ladder style cable tray with copper wire.
00:12The bonding conductor should be sized appropriately for the expected fault current in
00:16your tray. Once the conductor has been determined,
00:19select the appropriate clamp for your con size. As listed in the burnie catalog.
00:23Today, we'll be using 250 KC mill which corresponds with the Burnie GC 2929 CT
00:30clamp as can be seen in the table. Next, determine your mounting location and
00:35drill a hole 7/16 of an inch in diameter. After you have selected the appropriate
00:40connector and chosen your mounting location, begin by disassembling the hardware.
00:53Next, apply a generous amount of penetrex A 13 oxide inhibitor compound to the flat portion of
00:59the casting that will be in direct contact with the tray,
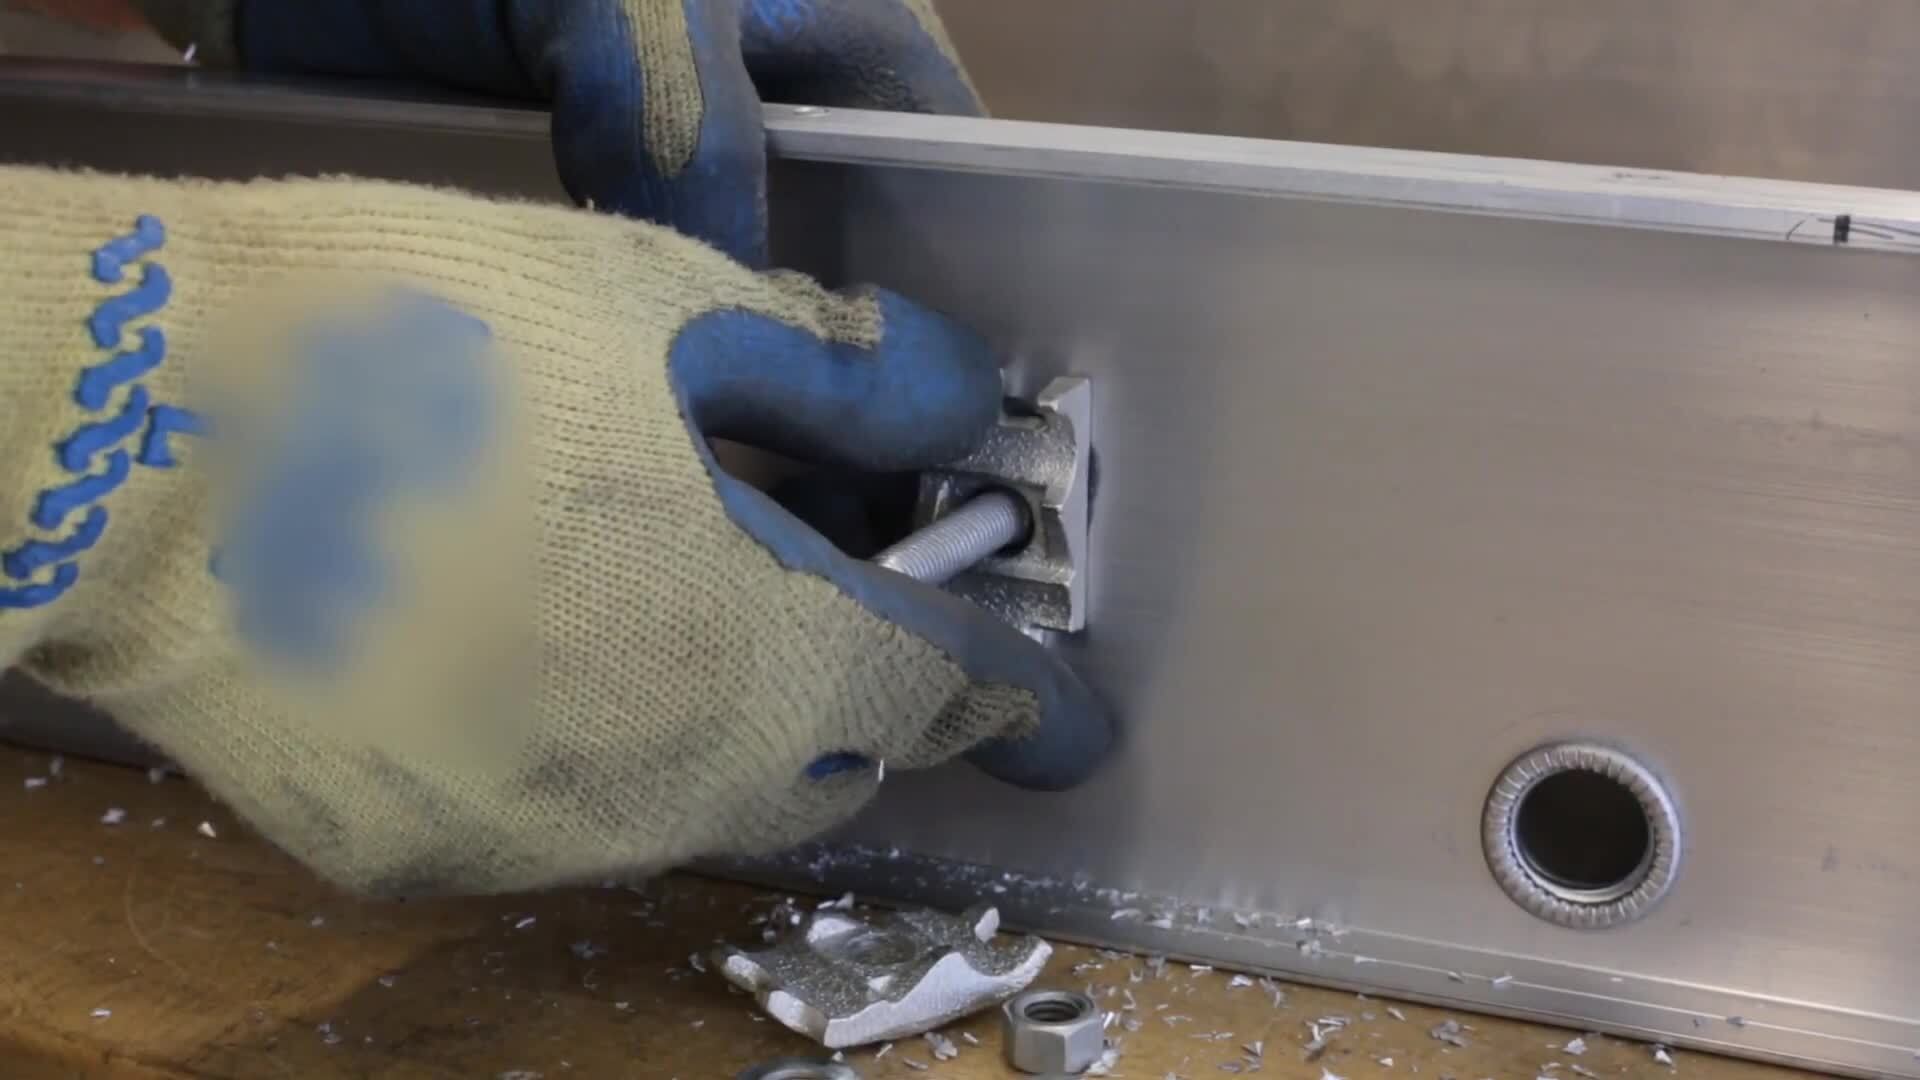
01:02press the nur shank bolt into the drilled hole that the clamp will be mounted on.
01:07Burnie recommends the application of Petron's A 13 oxide inhibitor compound to all connection
01:13interface surfaces, assemble the two clamp components with the bolt and install the
01:19washers and nuts to secure the clamp as shown
01:36once the connector is secure, install conductor into each wire groove,
01:40as shown, the hardware should be hand tight once hand tight,
01:45follow up to the Bernie recommended torque of 240 inch pounds that is marked on the product
01:51packaging. This can be done with a Bernie BT W type torque
01:55wrench and a Phillips head screwdriver for inspect ability and to monitor hardware from
02:00backing off place, mark across bolt head and nut.
02:06Your UL listed grounding and bonding connection is now complete for more information,
02:11contact your local sales representative or burnie.com.
02:14Thank you.

BURNDY GC-CT Installation
- private