Take a TourHere is a glimpse of CHALMIT’s solutions for the different Markets. Try out some Chalmit Solutions.
Take a Tour of the Markets We ServeA quick look through the various markets we are equipped to cater to. See the Chalmit Markets.
Take a TourTry out some Chalmit Resources.
Transcript
00:03Within the program. There are now three different array methods
00:06which are found on the home ribbon.
00:09All three versions follow the same procedure to create the desired luminaire array with control
00:15provided from the array info panel.
00:19Firstly, a luminaire needs to be located in the design space as the basis of an array,
00:26select that luminaire and choose one of the create array options.
00:31A linear array will create a single row of luminaries.
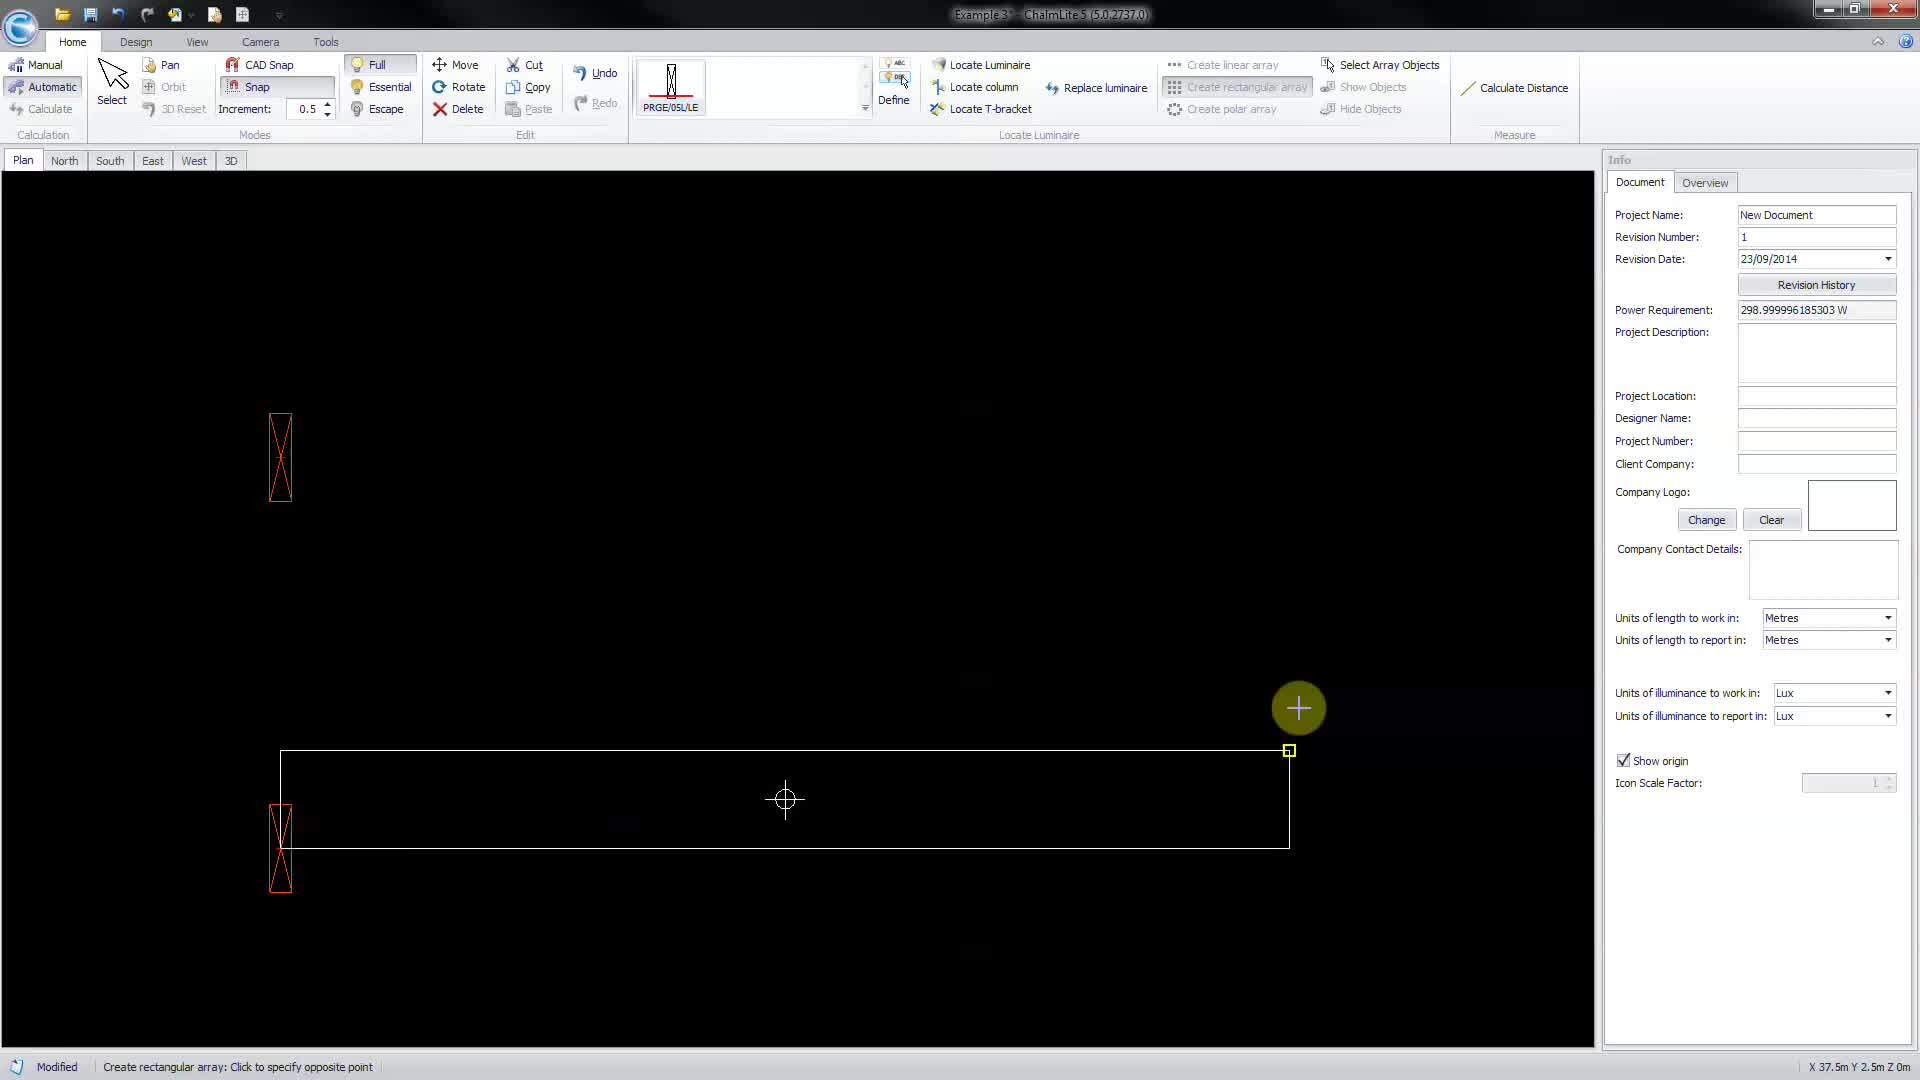
00:35A rectangular array will create multiple rows of luminaries within a defined area.
00:40And a polar array will create a curve of luminaries around the circumference of a
00:45defined ellipse or circle.
00:47For a linear array. You must define the array orientation by
00:51selecting the start and end position of a line.
00:56A default luminary spacing is used.
00:58But this can be manually adjusted from the array info panel or swapped
01:05a number of lummis so that they are equally spaced
01:13for a rectangular array, you must select the opposite corners of a rectangular area
01:23again, a default spacing is used but it is possible to adjust this in both the X and Y
01:29directions or swapped a number of lummis
01:36so that they are equally spaced.
01:43For a polar array.
01:45You must define the center and radi of a circular or elliptical array.
01:59A default spacing is used but it is possible to adjust this spacing
02:07or swapped a number of luminis so that they are equally spaced around the perimeter.
02:18Only when you choose to break away will individual luminis become uniquely editable?
02:24Please be aware that it is not possible to make a specific change to a luminaire in an array as
02:29a change to one will apply to all.