Transcript
00:04Welcome to the connector products, automatic splice installation video.
00:09This splice features an open body design to allow the installer to visually verify
00:14installation is correct. This feature also allows water to escape the
00:18splice. A common problem with other automatic splices
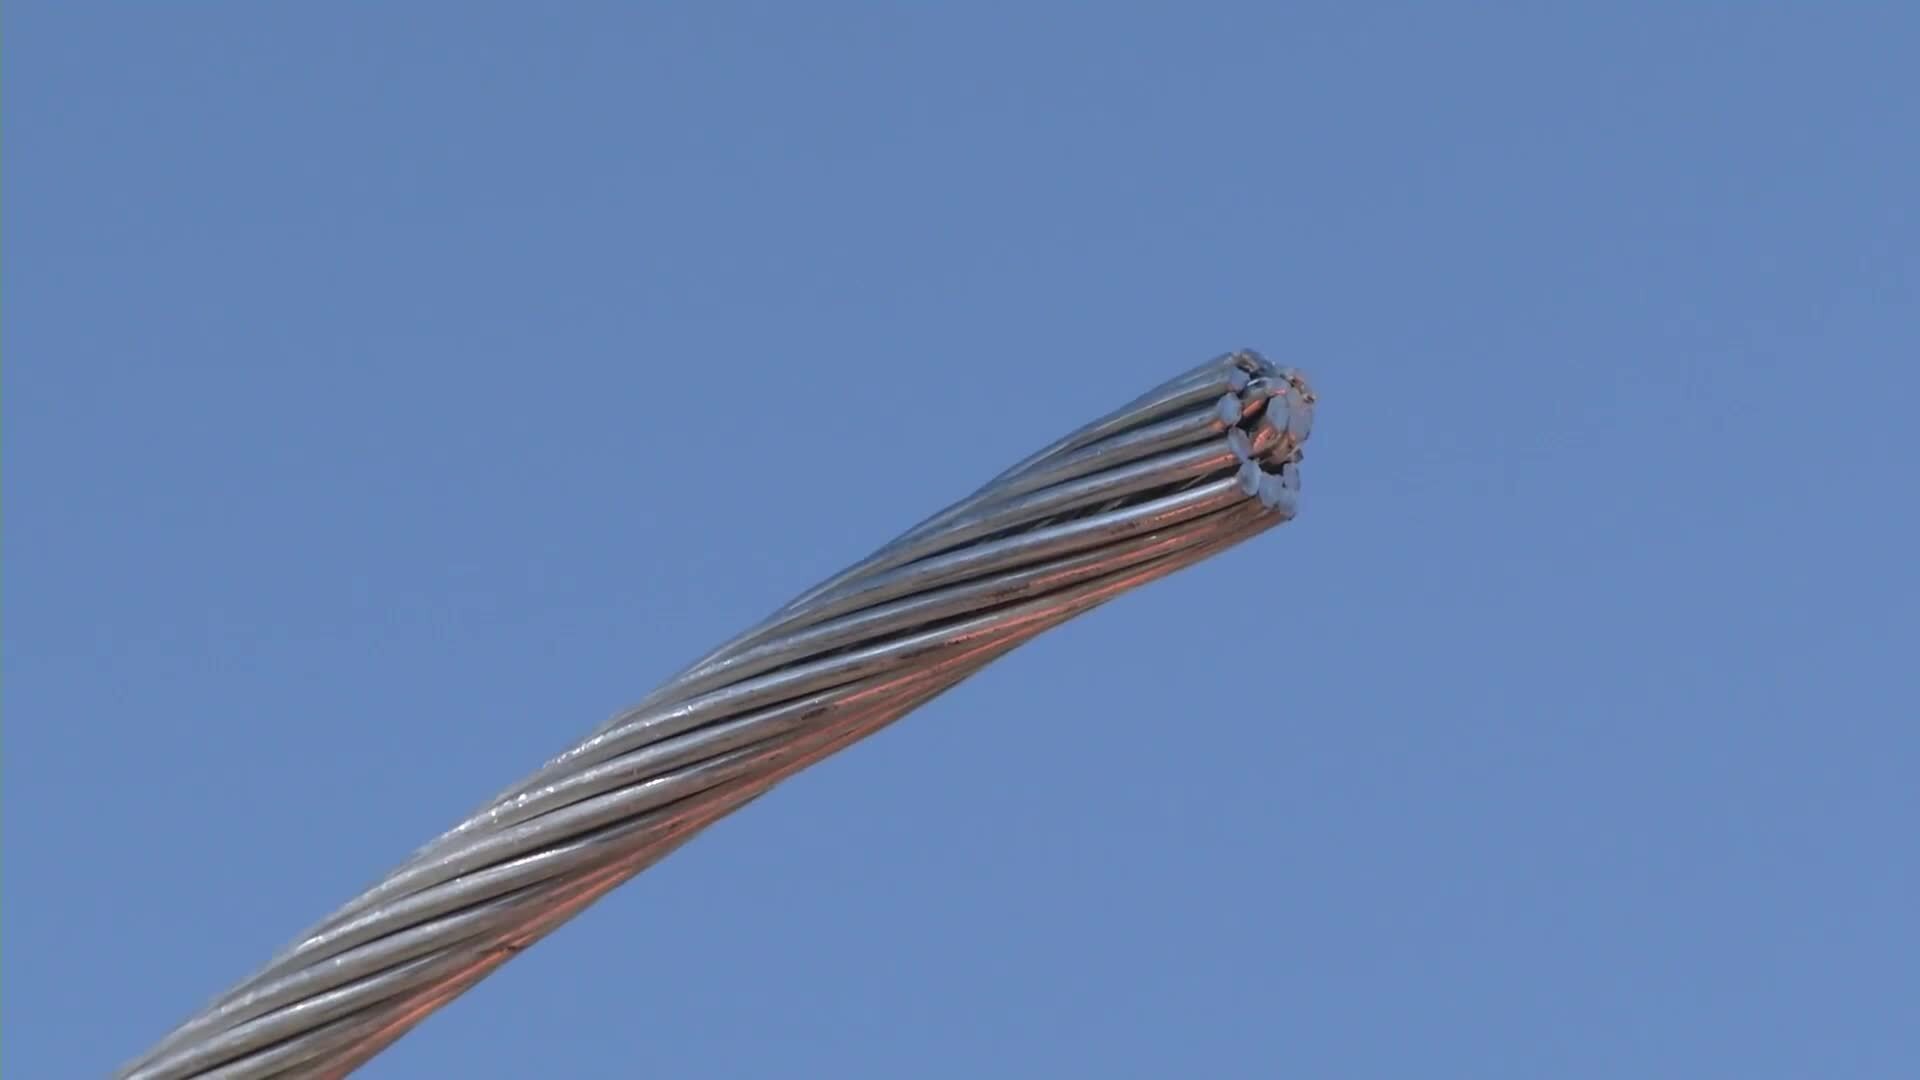
00:22begin by preparing the conductor to your company's standards.
00:26Connector products recommends wire brushing all conductors that will be inserted into the
00:30splice. It's also important to strip any insulation
00:34allowing enough conductor to be exposed that will be inserted into the splice.
00:38Also make sure that the cut section of conductor is a clean cut free from burrs and
00:43defects set up your come along according to the manufacturer's specifications,
00:48allowing enough slack on the conductor for you to work with it freely.
00:52Fully insert one side of the conductor into the splice until it reaches the center stop.
00:57Tug on the conductor to set the wedges repeat this step on the other side of the automatic
01:01splice ensure the conductor is seated fully into the splice.
01:05It is very important to tug the conductor to allow the internal teeth to set on the
01:10conductor release the come along, making sure the sack of the conductor is over 15% of the
01:16rated breaking strength of the conductor being utilized.
01:19Remove all protective coverings and clean up the work area.

CPI Automatic Splice
- private
- cpi