Transcript
00:01Welcome to connector products, wedge taps installation video.
00:04This video will showcase how to install using the glove method.
00:08This connector is designed for use on overhead transmission distribution,
00:13substation and secondary applications on bare aluminum to aluminum or aluminum to copper
00:18conductors. It is full current rated, meaning there are no
00:21current limitations.
00:23It can be used on voltages from as low as 208 through 230 KV.
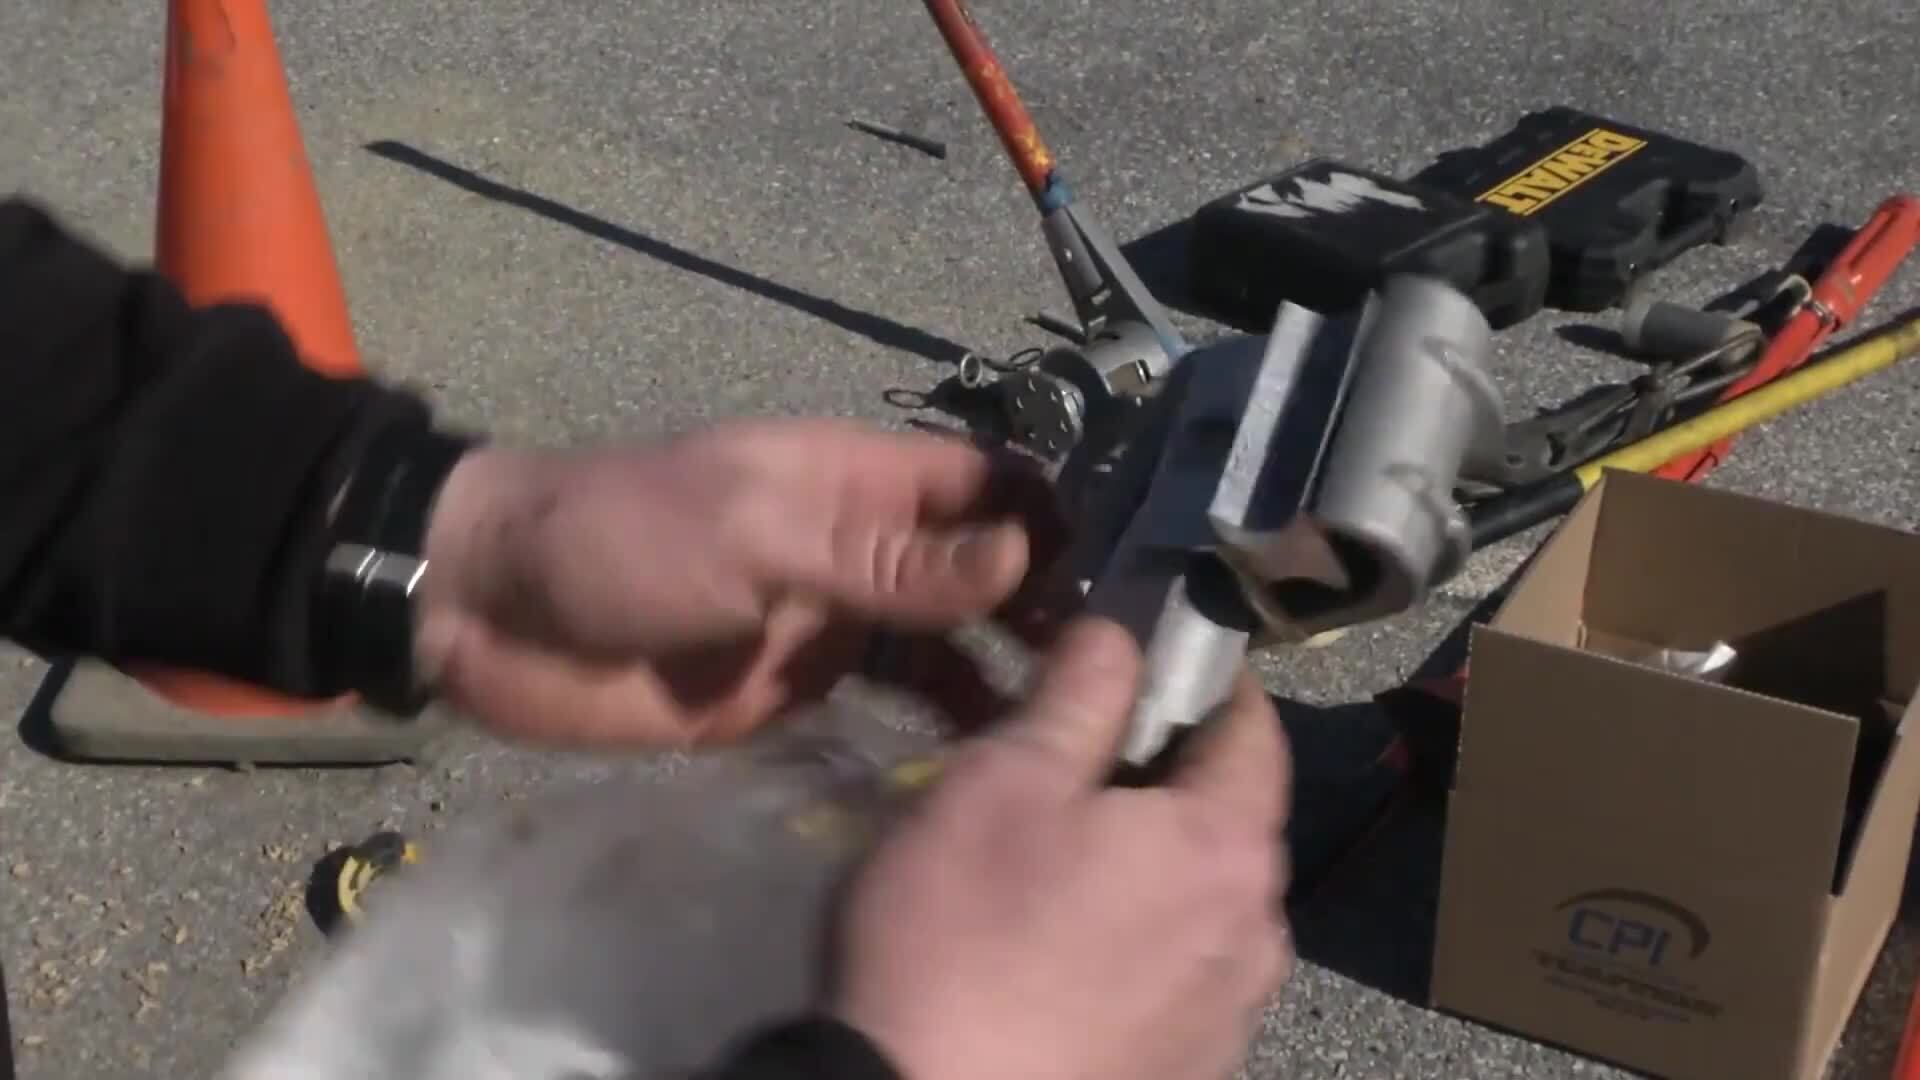
00:28This is the connector products wedge connector out of the packaging,
00:32you will find two separate pieces for the installation.
00:34These consist of the sea body and the interface. The sea body consists of the body sheer head
00:40bolt that will give you the proper torque and the drive wedge mechanism.
00:45The interface is the main connection between the conductors.
00:48Both are equipped with hot stick eyes for installation.
00:51When you open the package, the connector is ready to install as it comes factory installed
00:56with grit, corrosion inhibitor grease for your application.
01:00Be sure to have approved gloves for the application you are working on.
01:03Make sure you have all tools for the job. A standard three quarter deep socket or wrench
01:08the socket can be driven by hand with a battery tool or with a hydraulic impact tool.
01:14Check the description on the package to verify the correct part for the conductors that you
01:18are using in the application. Always prepare the conductor to your company
01:22standards. CP I recommends wire brushing 6 to 8 inches of
01:26the conductor where the connection is to be applied if applicable strip insulation.
01:31So there is enough bear conductor to work with easily.
01:33After opening the package notice the interface is marked with the most common conductor size.
01:38If you are using the conductor not marked on the interface,
01:41refer back to the packaging fully unscrew the bolt by hand to open the sea body.
01:46This will allow for easier installation hang the sea body on the main conductor at desired
01:51position, insert the tap conductor into the sea body, making sure it is fully in place.
01:56It is better to have 1 to 2 inches of tap conductor hanging out of the back of the
02:00connector. This will ensure a full connection.
02:03A line interface with corresponding run and tap conductors slide the interface between the
02:08conductors until it hits the stop in the body. Use your three quarter inch drive tool,
02:13tighten the bolt until the top head shears off, giving you a positive indication of correctly
02:18completed installation.
02:20This is designed to shear off at approximately 100 and 50 inch pounds or 12 ft pounds of
02:25torque which results in 3000 pounds of force in the connection.
02:29There is no need to tighten the secondary bolt head.
02:32Any further installation is now complete. Remove all coverings from the work area.
02:37Please refer to our video on removing and reusing this connector for further information.

CPI Glove Tap
- private
- cpi