Transcript
00:04Welcome to connector products. Ground grid series installation video.
00:09This connector is designed for use in substation ground grid applications as well as
00:14any other type of permanent wire to wire or wire to rod grounding applications.
00:20There are no special tools needed for the installation only a 9/16 wrench or socket.
00:26This installation is also not weather dependent and can be done in any conditions.
00:31This connector consists of three main components, sea body sheer head bolt and drive
00:36wedge assembly always prepare the conductor and ground rod if applicable.
00:41According to your company standards, connector products recommends wire brushing the
00:46conductors where the connection is to be made.
00:49It is important with copper to ensure the green corrosive copper salt is fully removed and pure
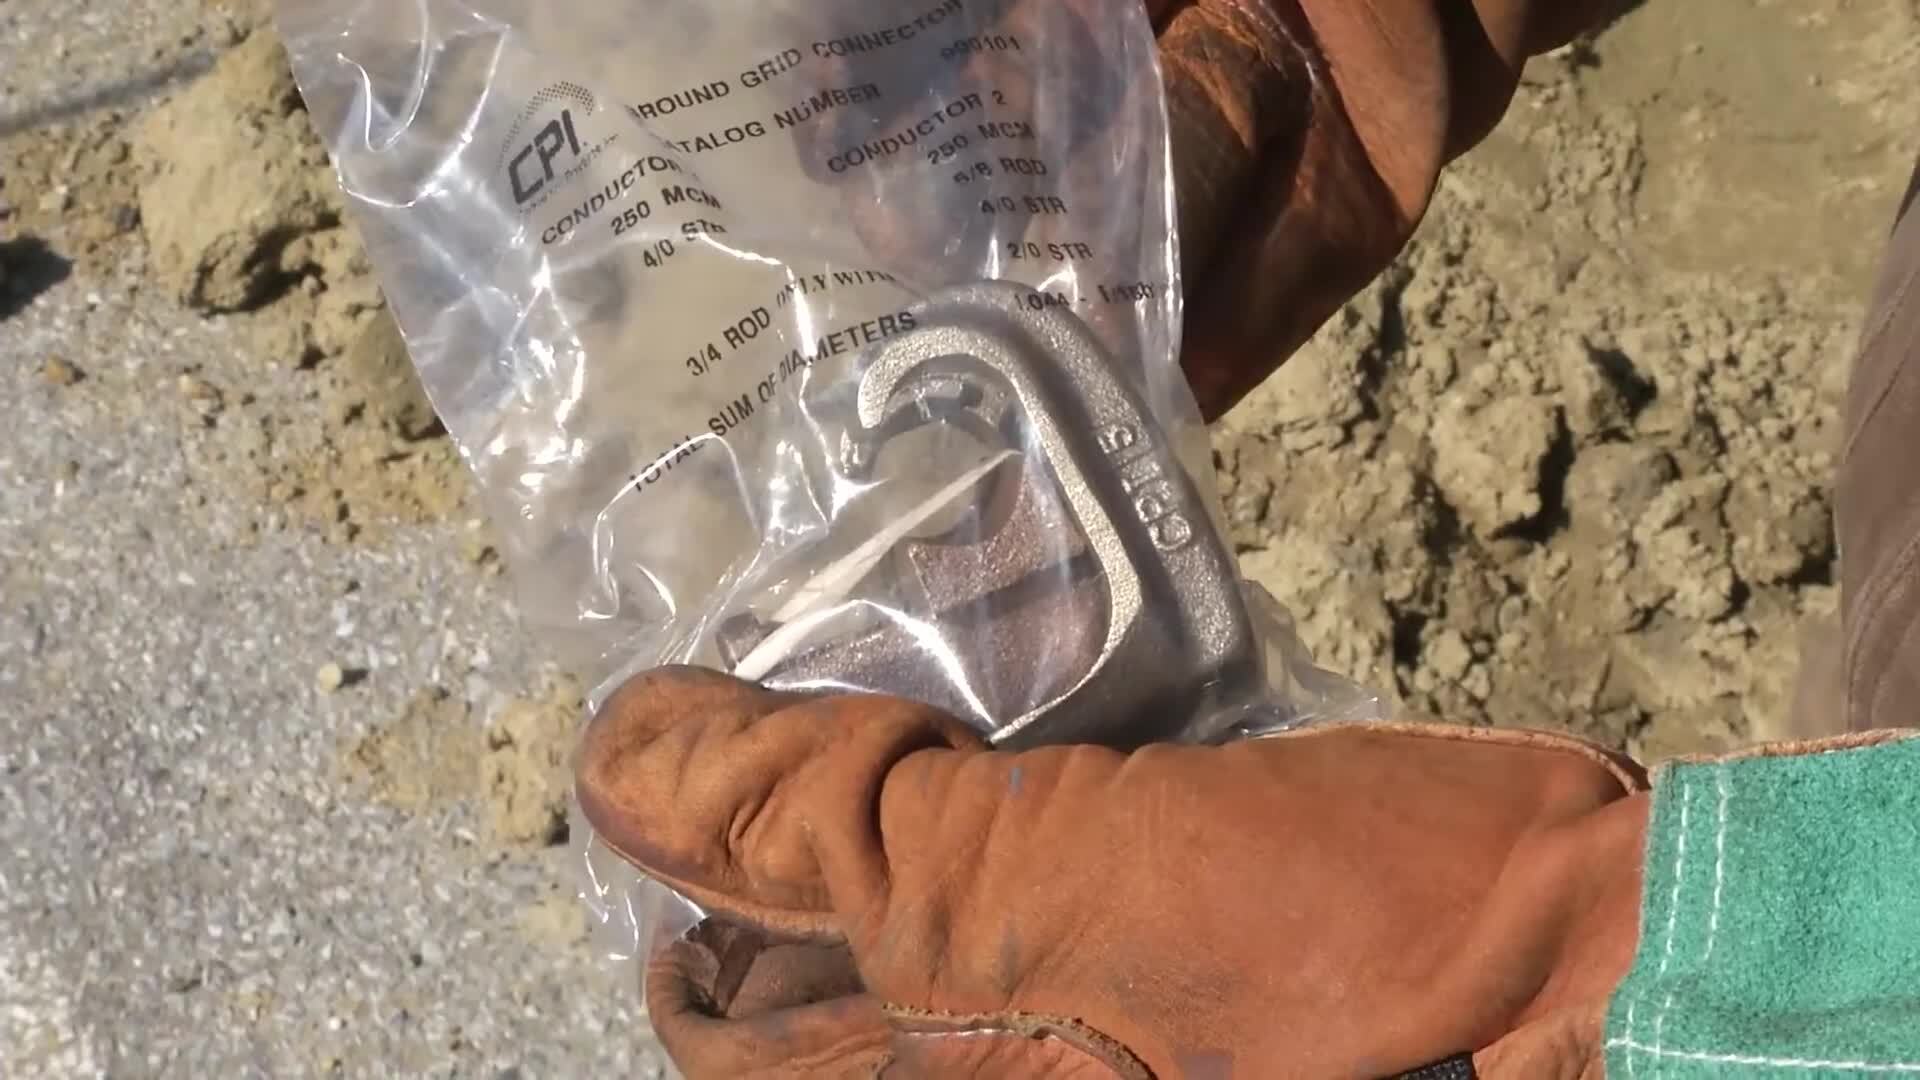
00:54copper is showing on the conductor, check the packaging on the ground grid and verify it
01:00matches what conductors and ground rods that are being used,
01:03withdraw the drive screw to the end of the wedge like this.
01:06This will allow for easier installation by creating more room for the conductors to be
01:10inserted, position the back wall of the sea body against the ground rod or conductor.
01:16Now position the other conductor with the front face of the sea body,
01:19hold the conductors in place, insert the wedge assembly in between the two conductors using
01:25the rotating motion seen here push the wedge forward to lock the assembly in place before
01:30tightening. Ensure the wedge is lined up with the rear
01:33conductor or rod using a 9/16 wrench or socket. Tighten the shear bolt until the sheer head
01:40breaks off around 10 to 12 ft pounds of torque installation is now complete.
01:45Remove all safety gear and clean up the work area.
01:49The conductor can be directly buried in dirt or concrete or left exposed for above grade
01:54applications. The remaining bolt head is smooth to prevent
01:57tampering.

CPI Ground Grids
- private
- cpi