Transcript
00:02Welcome to connector products. Video on how to remove,
00:05inspect and reuse the connector from the field.
00:09The first step is to remove the connector from the line,
00:12hold the tap conductor securely if applicable, begin to slowly back off the bolt with a 916
00:18socket or wrench the clip within the connector will begin to pull the wedge drive out,
00:23continue to back the bolt out until the entire assembly is loose enough to remove from the
00:29line in a safe location away from the live lines.
00:32The inspection of the connector may take place be sure to check for any dirt or corrosion that
00:37may have developed during this particular life span of the connector.
00:40Carefully, remove any impurities that you may find.
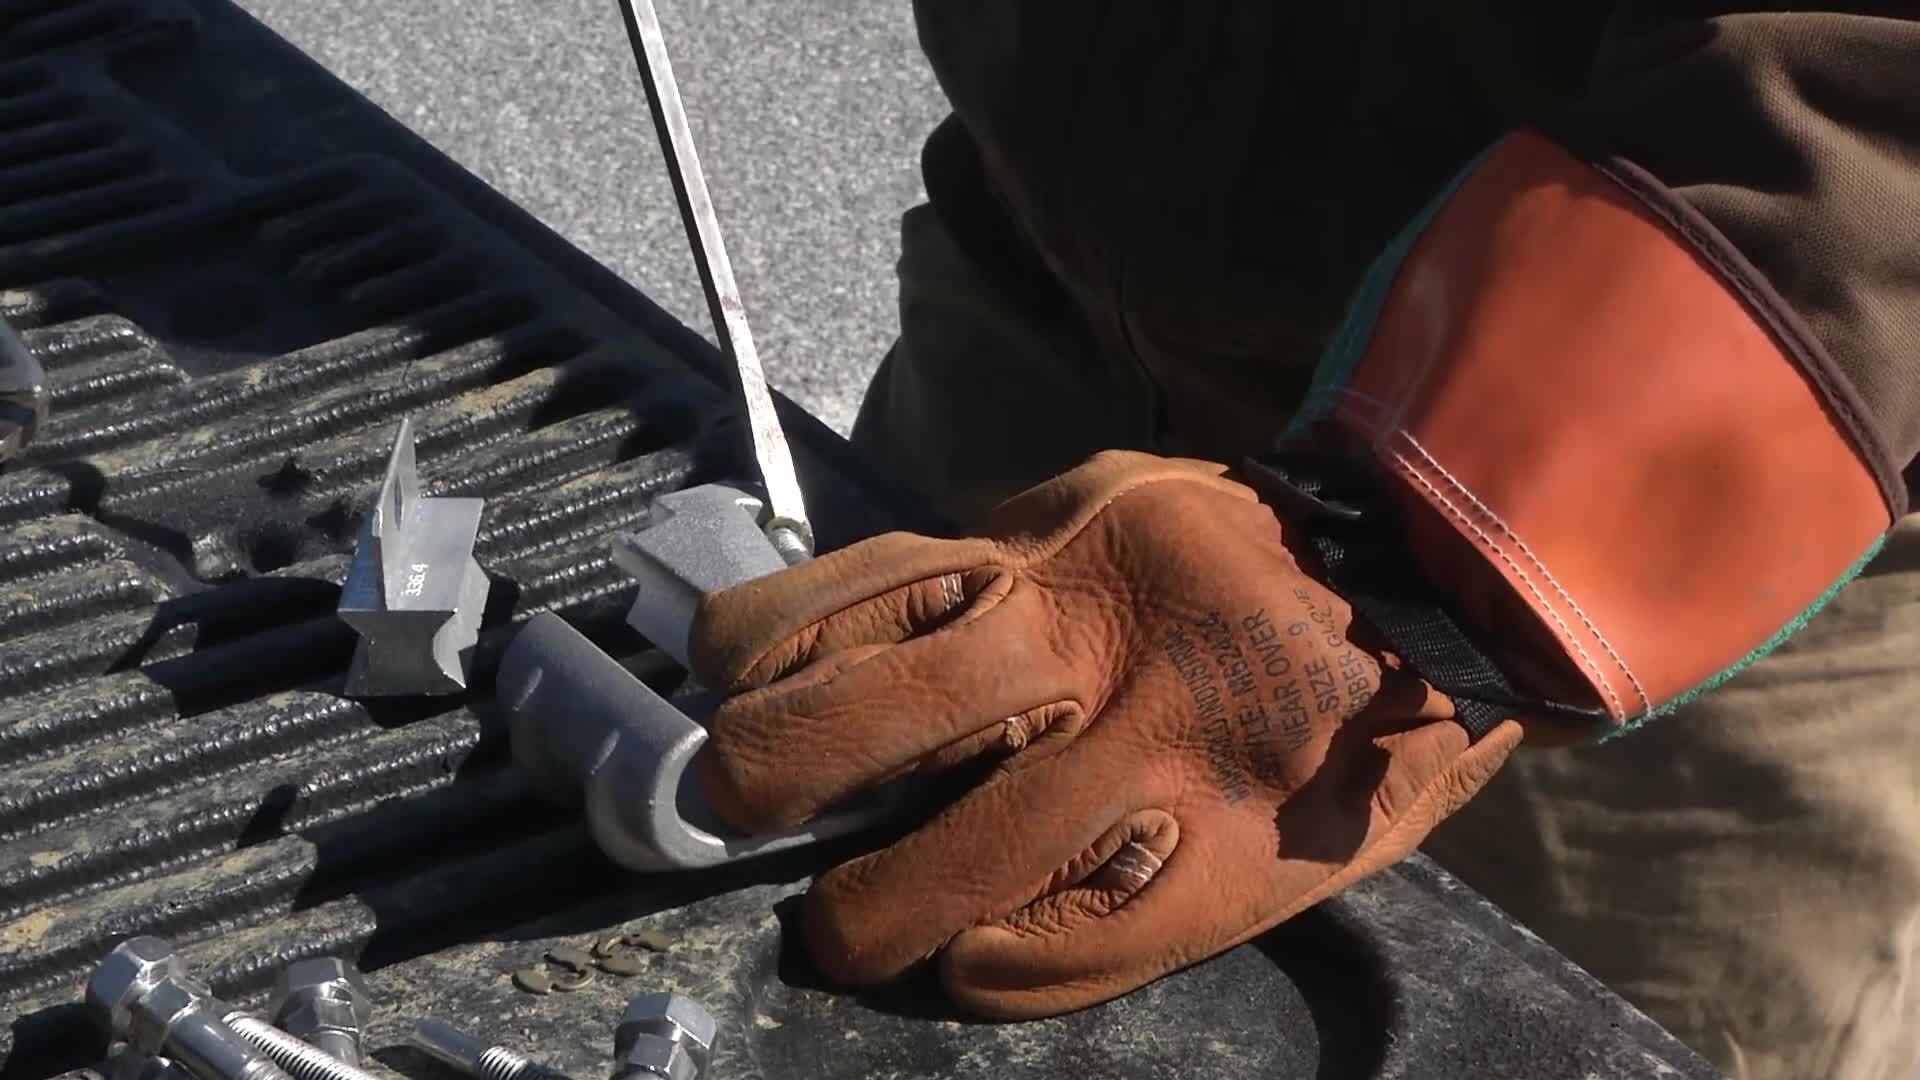
00:43The next step is to replace the bolt. This can be done by placing a flat head
00:47screwdriver or something similar under the snap ring behind the wedge.
00:51Seen here using a prying or twisting motion, pull the ring off the old bolt.
00:56You can now remove the old bolt freely without moving the parts of the connectors,
01:01making sure the threads are clean, insert a new bolt into the assembly and begin threading once
01:07the wedge passes the small groove for the snap ring, you can use pliers or something similar
01:11to push a new snap ring in place.
01:14You must apply new inhibitor grease to the interface and body where the conductor will
01:19touch during reinstallation. This will aid in the performance of the
01:22connector connector products recommends our product GX 100 but you may use any company
01:27approved corrosion inhibitor grease that you have.

CPI Replacing a bolt
- private
- cpi