Transcript
00:04Welcome to the installation video covering the connector products,
00:07running rail connector.
00:09This installation procedure can be applied to all size rail and conductors that you may be
00:14using. This connector is designed as a permanent
00:17connection for copper conductor to a variety of rails.
00:20The body of the connector is constructed of heavy duty aircraft grade steel.
00:24During installation, this body will deflect 1/16 of an inch to ensure constant and
00:29consistent pressure on the rail. There is no need to drill holes or weld the
00:34conductor to the rail, preventing the rail from warping or weakening.
00:38Be sure you have the correct tools for the job for the connection.
00:42There are no special tools involved. A three quarter inch wrench is used for
00:46installation connector products recommends the use of a torque wrench to ensure proper
00:51tightening. Seen at the end of this video,
00:53check the part number and packaging to ensure you have the correct connector for the rail
00:57size and conductor size.
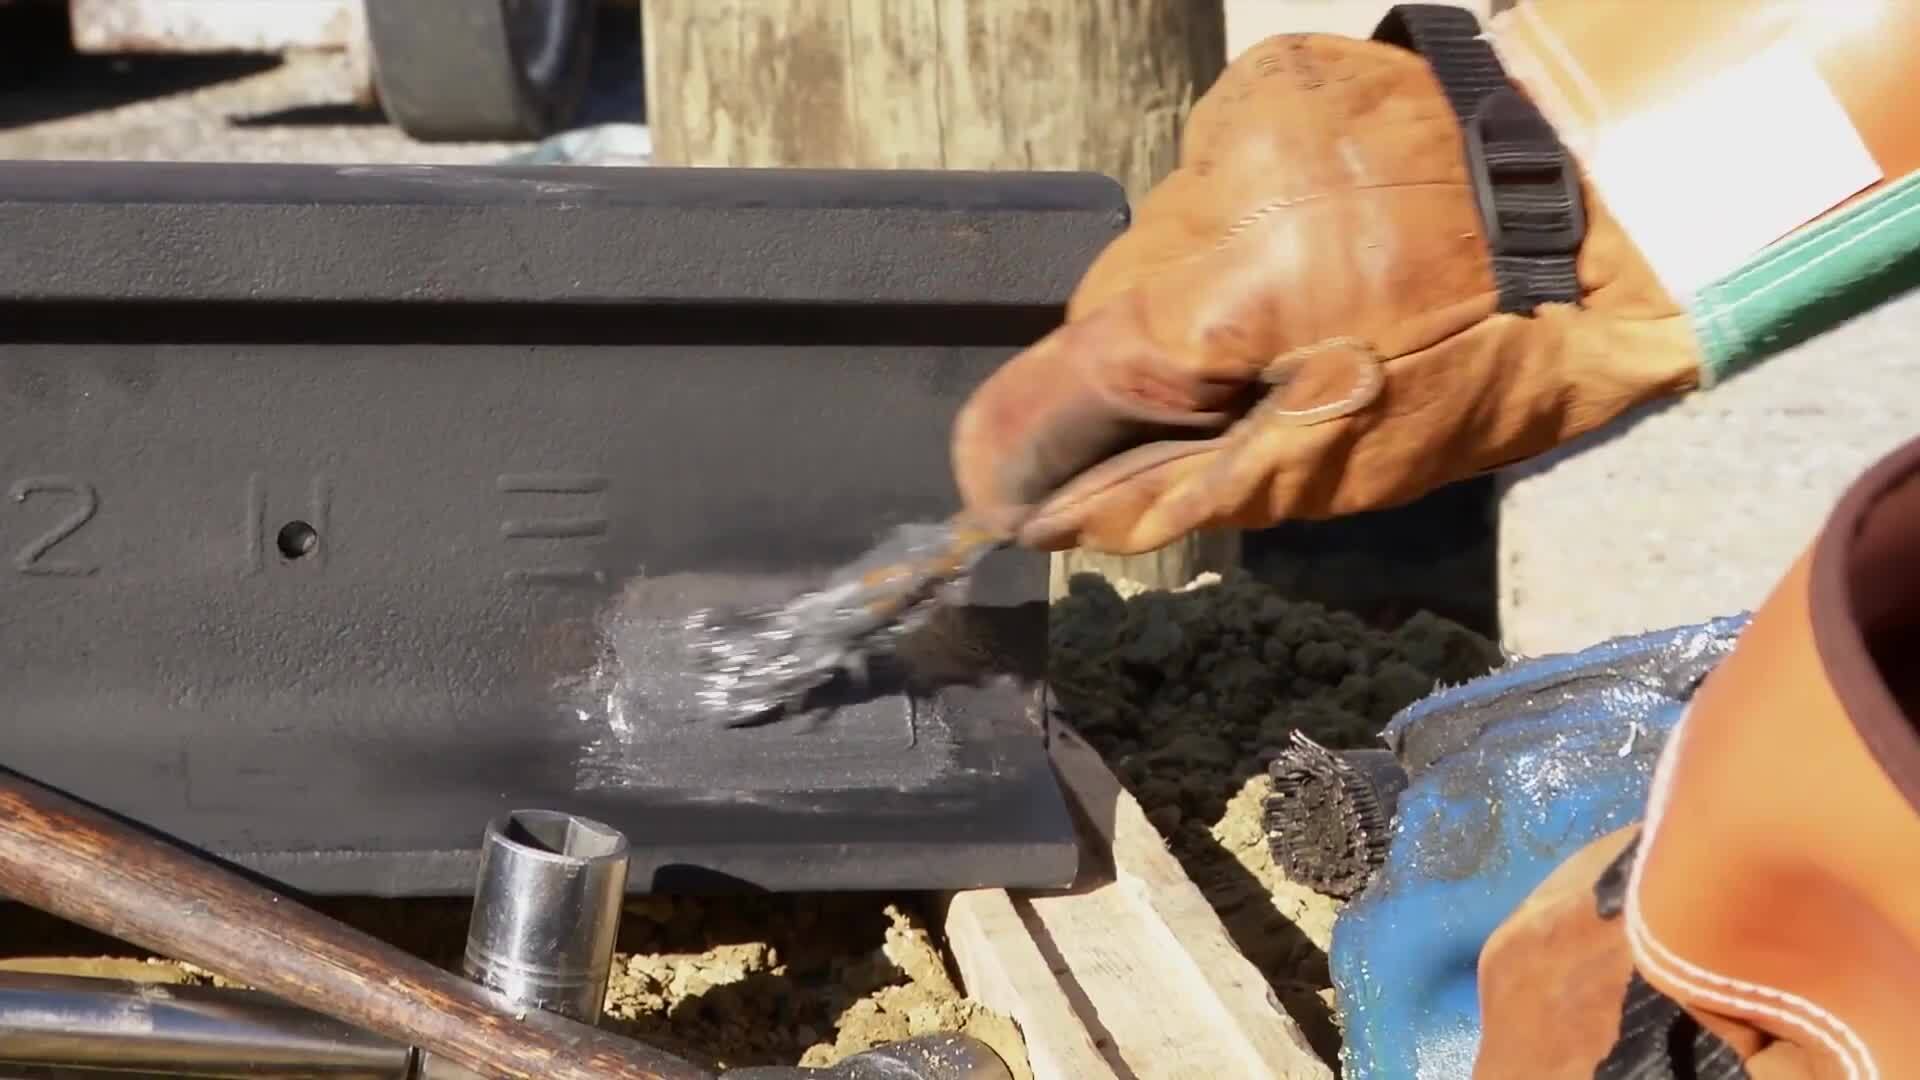
01:00The most important part of this installation is in the preparation of the rail,
01:04clean the rail surface down to bare metal using your company's approved method to an area
01:09bigger than the connection being made approximately 3 to 4 inches on each side of the
01:13connection. Apply a coating of inhibitor grease directly to
01:16the rail surface where the connection is being made, strip the conductor of installation
01:21approximately 4 to 5 inches in length. If the cable was previously used,
01:25connector products recommends the use of wire brushing to clean the conductor hook,
01:31the clamp under the rail as shown position the conductor within the nest groove,
01:35ensuring the nest is facing the correct way. Each part is marked with the word up to ease
01:40the identification. This will face the top of the rail,
01:43place the cap or indent onto the conductor, matching the grooves on the nest.
01:48Holding this together slide the assembly between the cleaned portion of the rail and the
01:52clamp, positioning the cap with the plate on the clamp,
01:56ensure the connector is parallel to the rail. Before you begin tightening the bolt,
02:00tighten the bolt with your hand or wrench to a snug fit.
02:03Strike the clamp body and head of bolt with a hammer.
02:06This is aiding and seating the cable correctly begin by tightening the bolt to 15 ft pounds of
02:12torque at a time each time. Checking to ensure the conductor is still
02:16properly seated within the connection.
02:18Tighten the bolt to 65 to 70 ft pounds of torque max over tightening may cause damage to
02:24the clamp or conductor.
02:26Tighten the lock nut down to the clamp body to ensure the connection remains locked.
02:30Installation is now complete, clean up the work area.

CPI Running Rail Connector
- private
- cpi