Transcript
00:01Welcome to connector products. Installation of the stirrup connector review
00:04video. In this video, we will review installation
00:07using a hot stick method.
00:09Follow the same guidelines for using the glove method in the field.
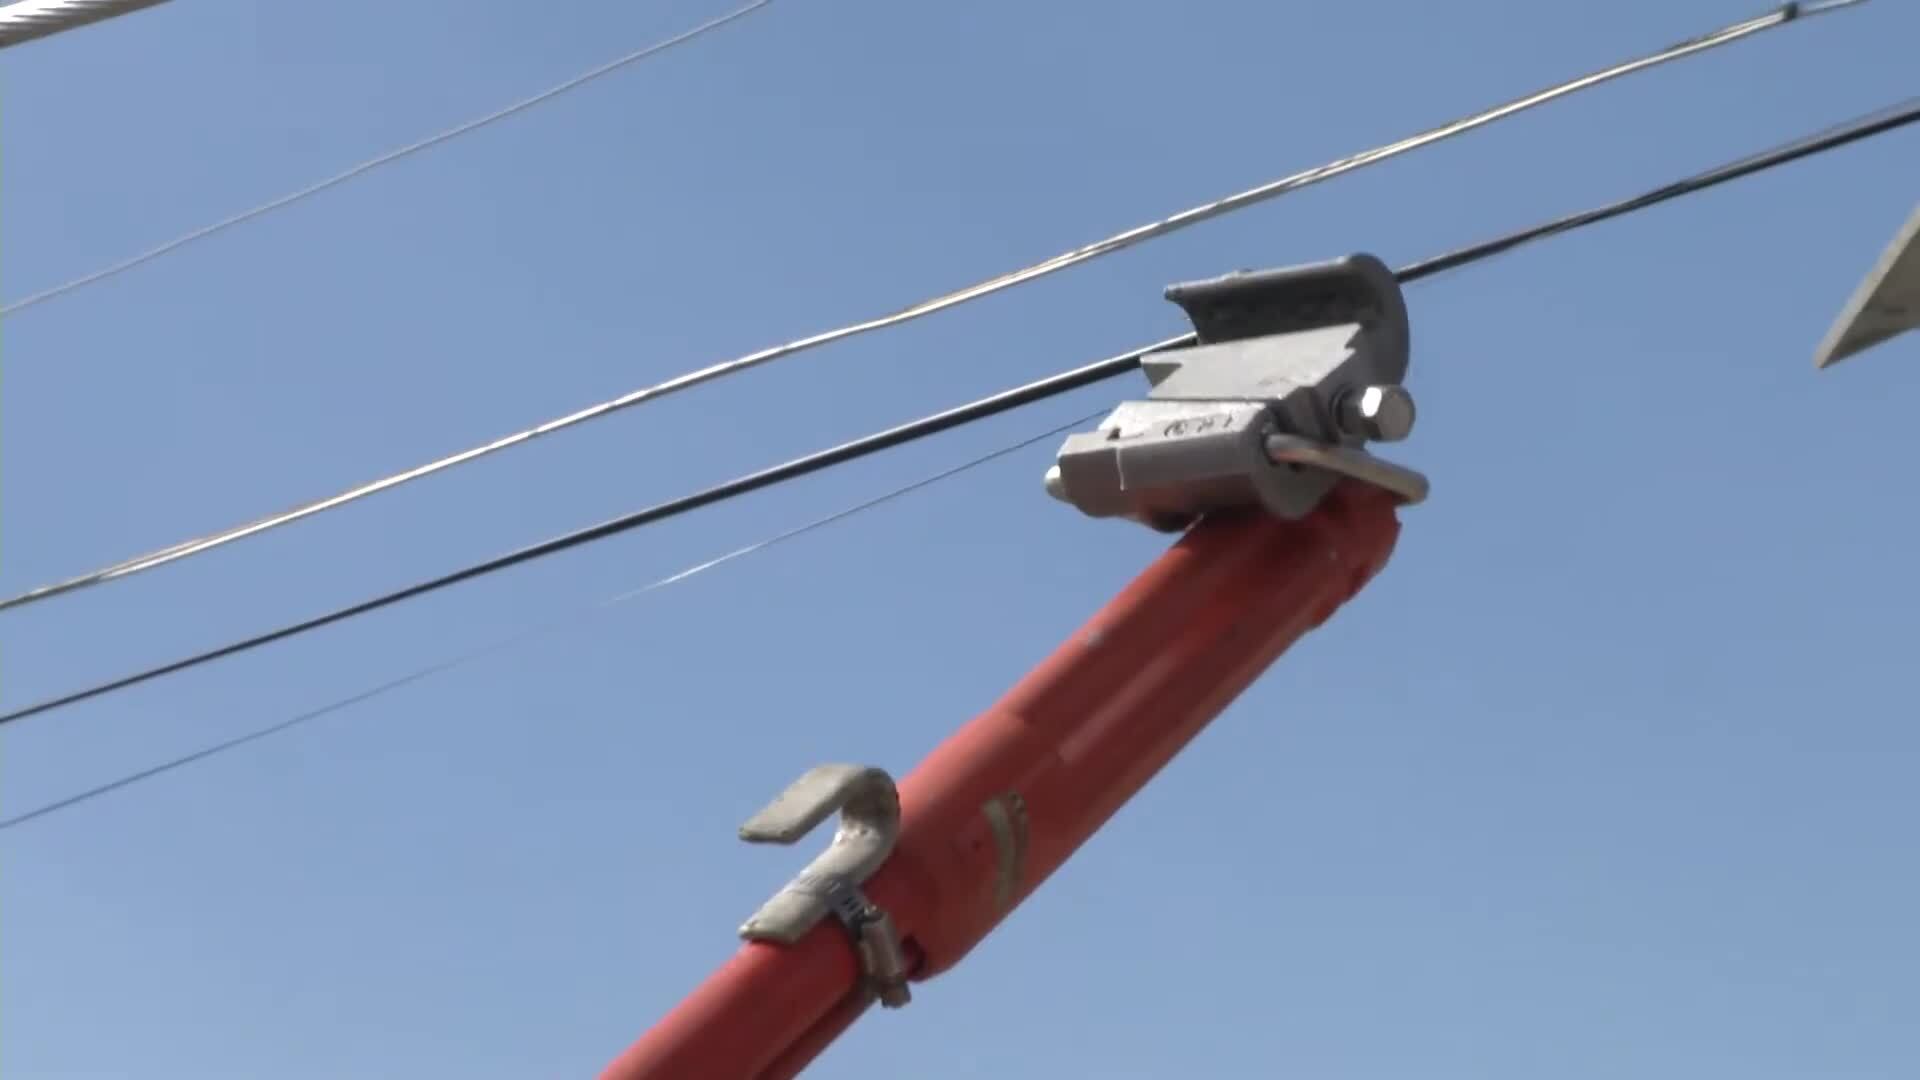
00:13The CP I stirrup connector is designed for connecting to aluminum or copper conductors
00:18while providing a tin plated bale that is used to protect the main line conductor from damage
00:23or arching when hotline clamps are connected or disconnected, these are extremely beneficial in
00:28applications that require a disconnect point.
00:32Make sure you have the approved tools for the installation.
00:34This will include gloves conductor blankets, a standard shotgun stick and a universal hot
00:40stick with a spring loaded socket adapter, check the part number and packaging to ensure
00:45the correct size connector is being used.
00:48Always prepare the conductor to your company standards.
00:51CP I recommends wire brushing 6 to 8 inches of the conductor where the connection is to be
00:56applied if applicable strip insulation. So there is enough bear conductor to work with
01:01easily. Once the conductor is prepared unscrew the by
01:04hand to open the connector allowing more space to work onto the conductor load,
01:09the stirrup into the shotgun stick by pushing the bale to the closed side of the connector
01:13body. This stirrup has a double wedge action and will
01:17lock the bale during installation. You will see this later in this video place the
01:21connector body over the conductor at the desired location.
01:24Before releasing the hot stick, pull down on the bale and set it in the desired location
01:29that will allow maximum efficiency later have a partner hold or leave the shotgun stick hanging
01:34on the bale for added stability with a second shotgun stick load the interface,
01:39it may be easier to orient the interface tab on the short finger of the shotgun stick clamp.
01:44This will aid in removal of the stick. Later using a universal stick with spring
01:49loaded socket attachment, tighten the bolt until the sheer head shears off.
01:53Be sure to insert the socket fully covering the bolt head,
01:57make sure socket is perpendicular to wedge face. Do not apply lateral force on the bolt head.
02:02During tightening, the bale may move slightly as you tighten the bolt.
02:06You can readjust the bale position with your other hot stick hook,
02:10the bale will begin to tighten. So make sure this is completed.
02:13And in the desired position before full installation, the top head of the bolt will
02:17shear off at approximately 150 inch pounds or 12 ft pounds of torque,
02:22which results in 3000 pounds of force in the connection.
02:26There is no need to tighten the secondary bolt head any further with the bale in place.
02:31You may now connect a connector products, HTC to the bale to complete the job at hand,
02:36remove all coverings and safety gear and installation is now complete.

CPI Stirrup
- private
- cpi