Transcript
00:21Hi, I'm Ken Russo, a sales engineer here at Epics.
00:24Today, I'm going to take you behind the scenes for a live test with our 800 P DC series DC
00:30digital Hypo testers here at a hypotonic. We always stress the importance of safety.
00:35Be sure to follow your company's protocols and regulations for personal protective equipment
00:39and safety guidelines.
00:41This model is our 880 PL digital IPOD tester.
00:44Other models in the 800 PL series follow a similar testing procedure.
00:49But today, I'm going to demonstrate use on a 15 KB class cable while the power is off,
00:55connect your ac power supply to the unit.
00:57This unit is equipped with universal mains capabilities.
01:00So external transformers aren't necessary. If you use a standard outlet power on the unit
01:06with the rocker switch, it'll finish its boot sequence in a few seconds.
01:11A warning screen will pop up reminding you to connect a safety ground from the ground stud
01:16press. Ok. When you're sure on the main menu,
01:20we see automatic mode, manual mode, test reports and settings.
01:26Today, I'm going to run my tests in automatic mode and then manual mode.
01:30But first let's take a look at our settings.
01:33The settings menu lets you preset your target voltage dwell timer max leakage current and
01:39ramp rate in automatic mode.
01:42General settings of the unit can be adjusted here such as language unit information,
01:49screen brightness, as well as other capabilities.
01:54Press the home button to go back to the main menu.
02:01I'm going to get ready to run my tests in automatic mode.
02:04First and foremost, connect your safety earth ground to the device.
02:09It should be the first core connected and the last one disconnected
02:22then connect your high voltage outlook cord to the conductor of your cable
02:33and finally connect your return lead first to the machine and then to your device center
02:39test or D
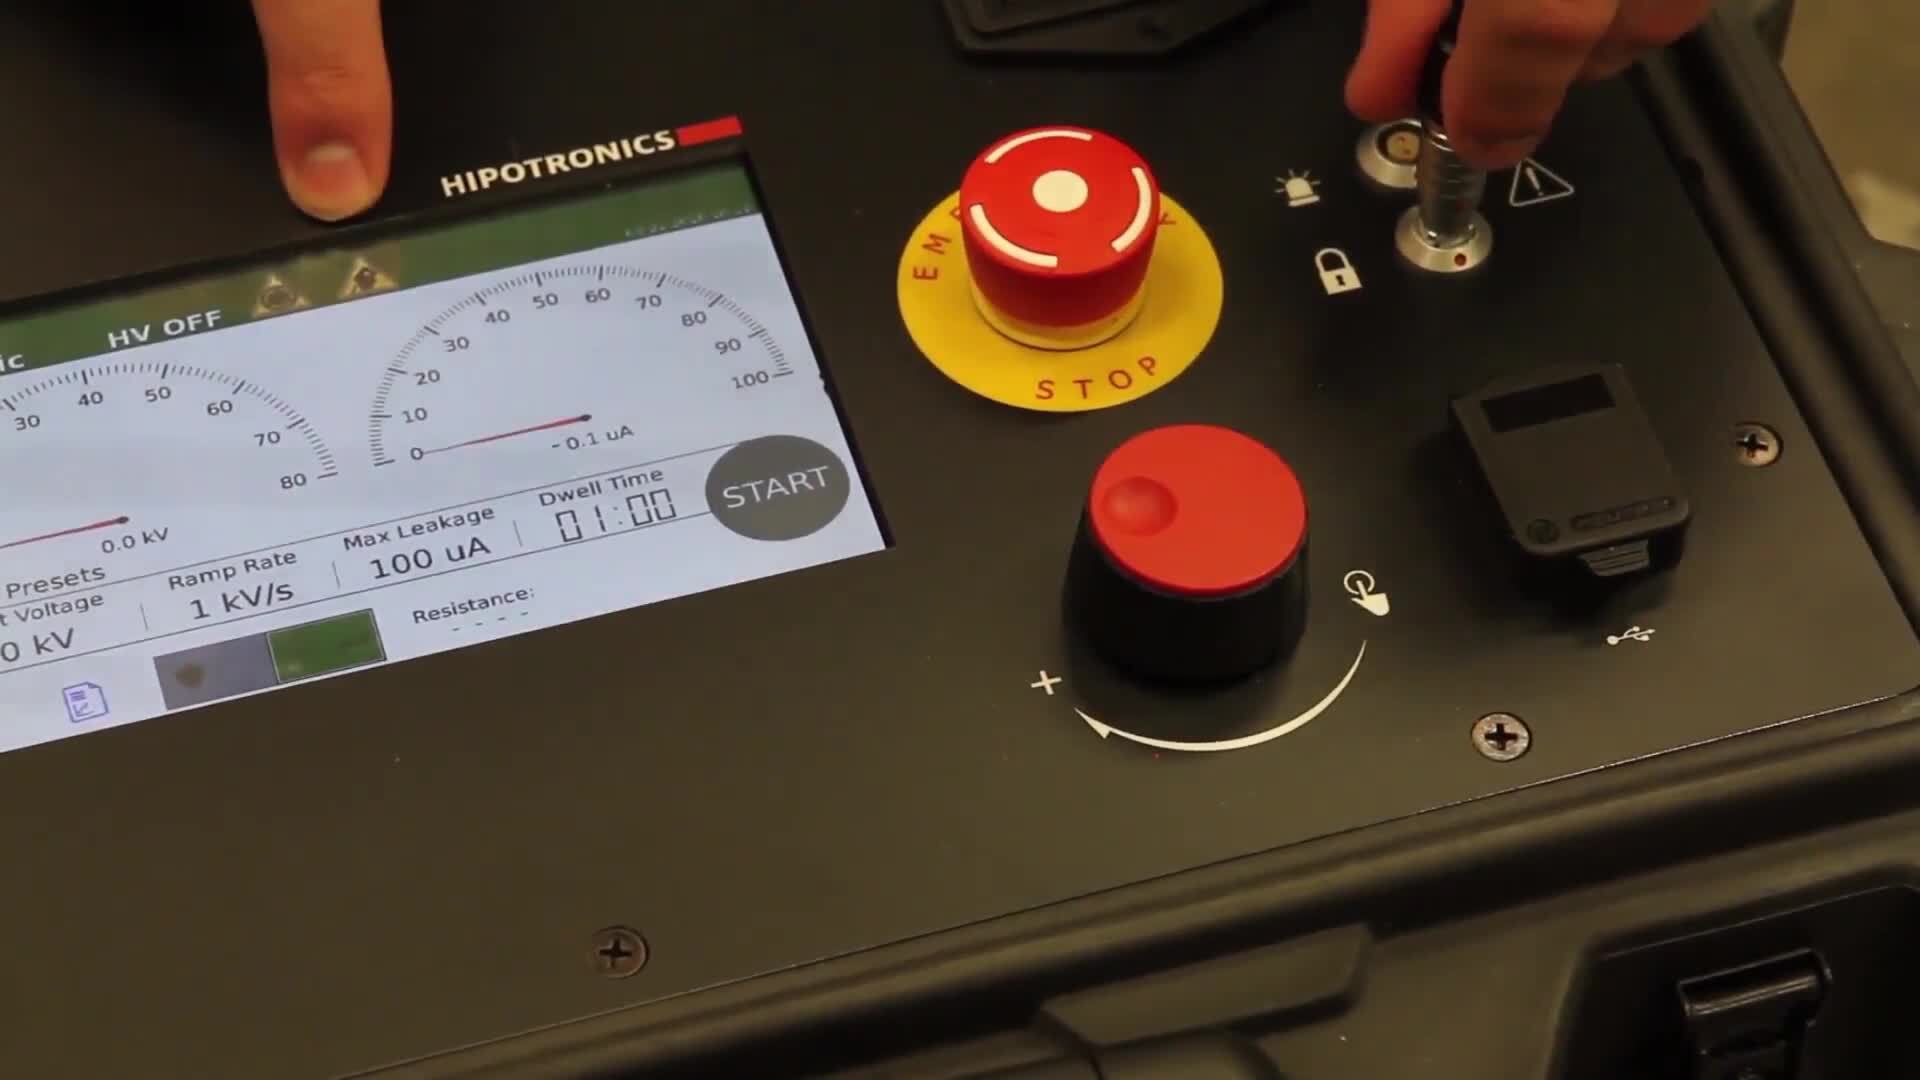
02:47to connect your interlock safety device. Locate the red dot at the base of the plug and
02:51then line it up with a receptacle next to the padlock symbol.
02:55When the interlock plug is properly inserted, the warning symbol will disappear from the
02:59touchscreen. The E stop warning symbol will disappear when
03:03the E stop is twisted clockwise.
03:06Now you're ready to begin your test.
03:10But before I press start, I'm going to double check my target voltage,
03:15my grand break my max leakage current in my dwell time.
03:23I'm also going to take note that I have no interlock open icons and then press start.
03:29You can see in real time your voltage and your current displayed in either digital
03:37or analog style meters.
03:41Once your target voltage is reached.
03:43Your dwell timer will automatically begin counting down
03:51when the timer runs out, the 880 PL dash DC will automatically bleed off voltage to ground.
03:58But to make sure that the device is safe, I'm going to go ahead and use a grounding stick
04:02just for safety.
04:04This is a step that we recommend doing for any and all high voltage testing.
04:11You can dismiss the standard message by pressing OK.
04:14Or you can save the data in a report by pressing the save button in manual mode.
04:19Targets are still set by the user. But the ramp rate is controlled manually.
04:22You can still input your target voltage and max leakage current as normal.
04:26But once your test is live, you control a voltage manually with either the rotary knob or
04:31the arrows on the screen. This is particularly useful.
04:34If your test requires step voltages just like in automatic mode,
04:40the same test complete or dut breakdown box will come up.
04:46You can either clear it out with the OK button or press save.
04:49I'm going to save it so that I can see my report later on.
04:55And then I'm going to click OK to confirm and then go back to the home screen.
05:02If we select reports from the main menu, we can see the previous tests arranged by time.
05:08Let's look at a recent test.
05:10The data is displayed as a graph showing voltage current and resistance with respect to
05:14time each of these values can be toggled from the bottom of the screen to
05:20extract data from the 880 PL DC IPOD, insert a flash drive into the front of the unit and
05:26press export to USB button on the screen.
05:31Now that I finish my test, I can pack up my 880 PL dash DC
05:43and move on to my next job.
05:46Thanks for watching today's video. For more videos.
05:48Be sure to check out our youtube channel for product information and to request a quote.
05:52Be sure to visit our website for any other inquiries, contact your local representative.
05:56Thanks for watching.

Hipotronics Digital DC Hipot 880PL-HD How To Video
- private