Transcript
00:13Warning do not attempt to remove spring from its housing clock type springs can be dangerous
00:19to handle removal of spring from housing could result in personal injury check for broken
00:26springs by pulling about two thirds cable off reeled and observing broken spring indicators
00:32on signs of spring canisters as shown in the figure note,
00:37bearings and springs are lubricated and require no periodic maintenance.
00:43Turn off all electric power disconnect cable from machine junction box,
00:48wind all cable onto reel to relieve all spring tension, remove inspection cover
00:55from face of spring housing,
01:02rotate, spill clockwise and observe inner shaft shaft should rotate clockwise and hub should
01:08remain stationary.
01:10Note do not attempt to remove spring if resistance is met or hub tends to rotate with
01:15shaft continue to rotate, spill and strike and a shaft with a rubber mallet until shaft
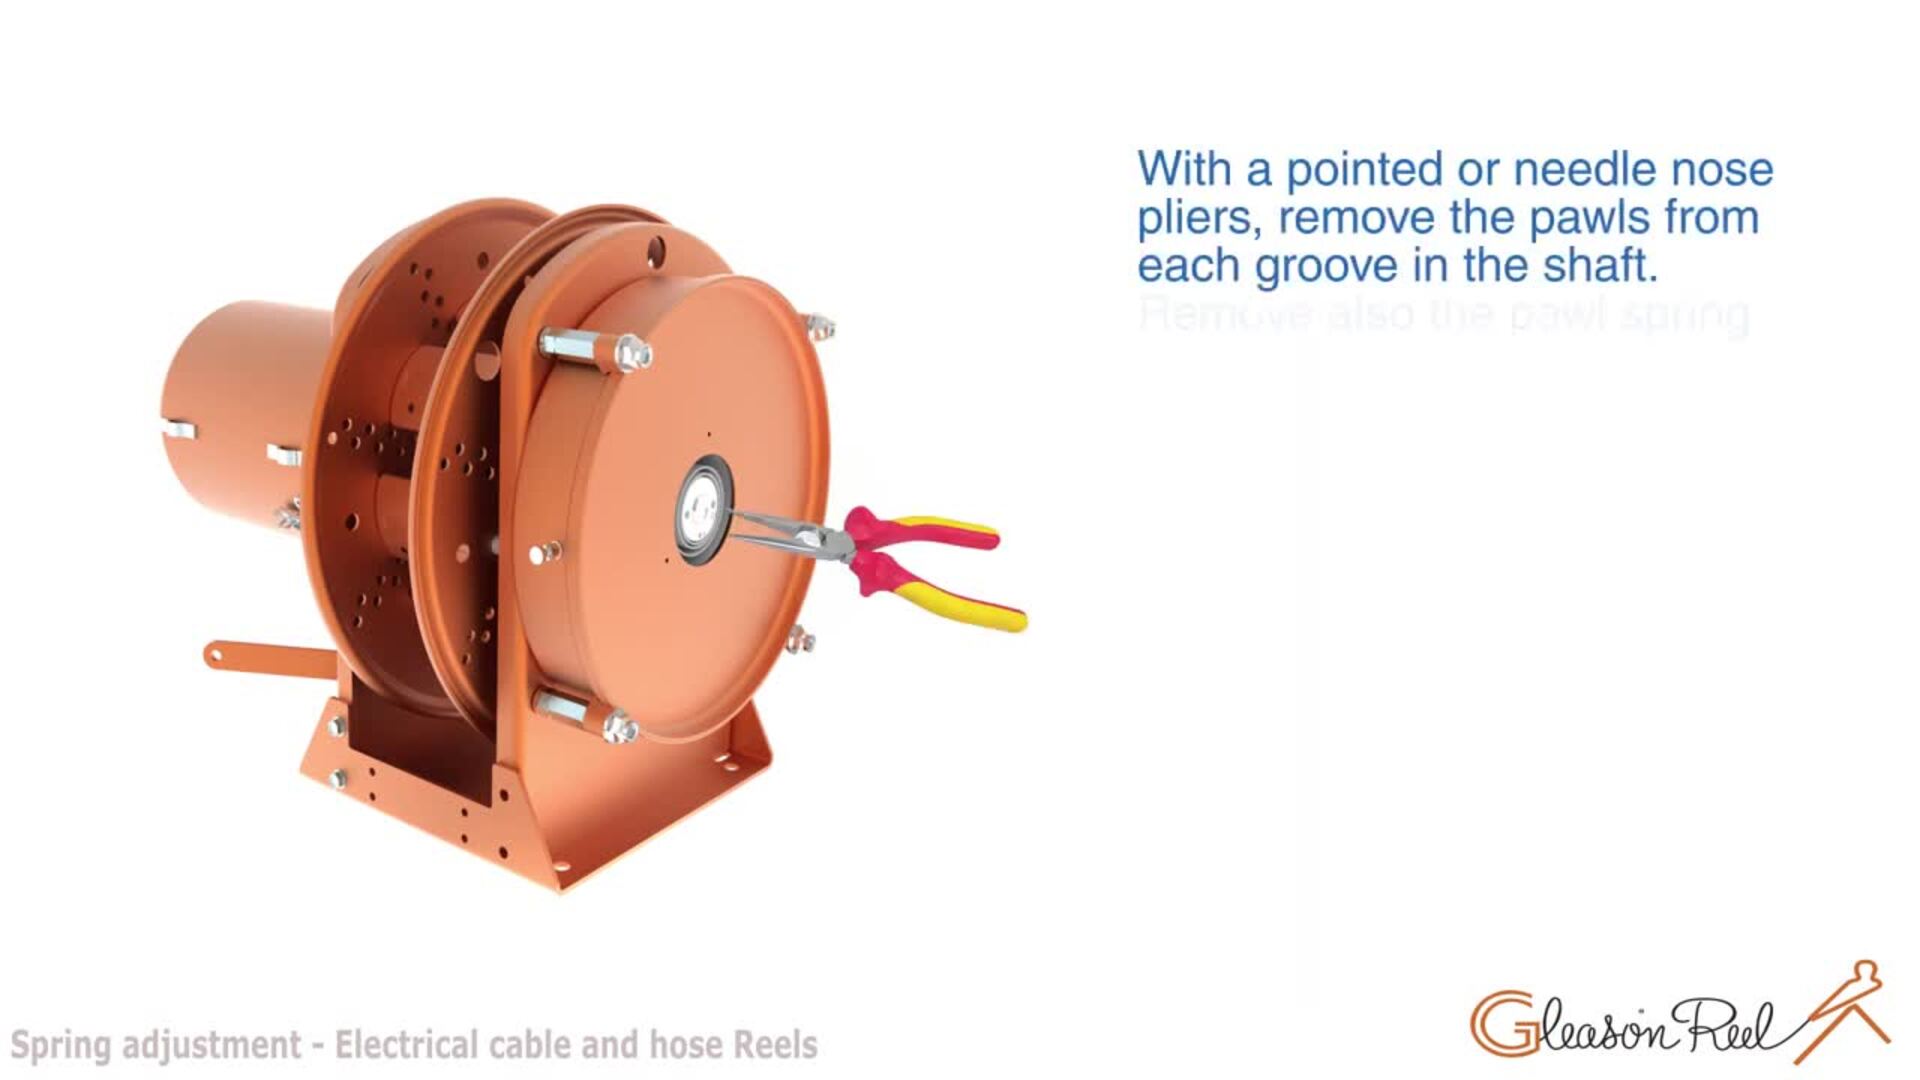
01:21rotates freely and hub remains stationary with a pointed or needle nose.
01:26Pliers, remove the Pauls from each groove in the shaft.
01:30Remove also the Paul springs. There are two in each set,
01:36remove four nuts which secure spring motor to frame slide,
01:40spring motors off shaft and discard
01:50install replacement spring motor. Paul's and Paul springs.
01:55Note, Paul springs must be located between the paws and the deepest section of the shaft
02:00grooves. Make sure that Paul's and Paul's springs are
02:03inserted flush with ends of shafting hub or they may rub against the inspection cover,
02:11tighten nuts and extension balls, securing spring housing to re frame
02:24tensions. Spring with Spanner Wrench, refer to
02:27installation instruction,
02:35replace inspection cover.